Published on 6/5/2021
- This blog post was made using Blender 2.83.3
- Top Tip: In general [Alt+...] menus in Blender are "negative" or "remove" menus, and [Ctrl+...] menus are "additive or "create" menus.
I’m building an elevator, and I want to make the doors open and close on player interaction. You can code it, or you can animate it. I wanted to animate it.
And in fact I did code it in Unreal Engine Blueprints. It’s not hard, but it does require quite a bit of keeping state and timeline nodes and branches. But there’s a whole animation system in Unreal (and Unity and others) to make use of. Just use that? Cool, but you first have to actually provide the keyframes. This is my first time rigging anything in Blender.
I’m not unfamiliar with bones (or armatures). I used it long ago in 3DSMax. So really I just had to learn the hotkeys and menu options. Also, I couldn’t find a post or video specifically about sliding doors which doesn’t use empties with constraints and parenting. And I didn’t want to use shape keys since I find it limiting and arbitrarily hard to control precise movement due to mesh deformation interpolation. Not to mention your UV side effects. Thus I decided to write this post.
First up though, I watched a character rigging video. Rigging a door is mostly the same thing, but not as complicated with symmetry and all that stuff. It’s a good foundation since you’ll be rigging characters at some point anyway. The two things to take-away for this post: Decoupling bones and parenting geometry to a bone.
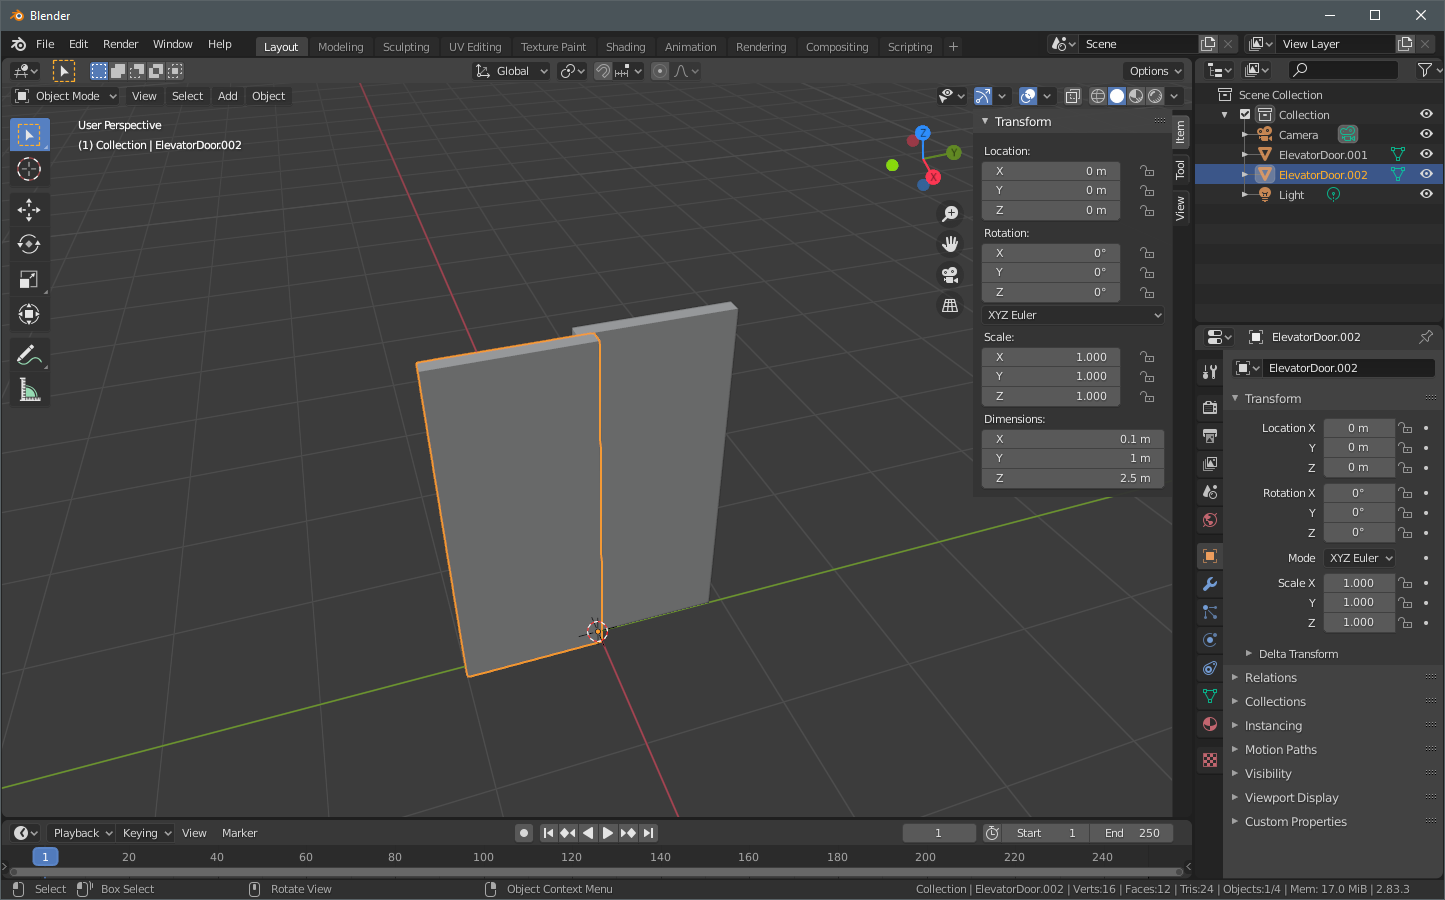
Most elevator doors are split in two, one slides over the other because of limited space on the side. This means you should have two bones, and they have to be decoupled because one of them has to move independently in the local space from the other.
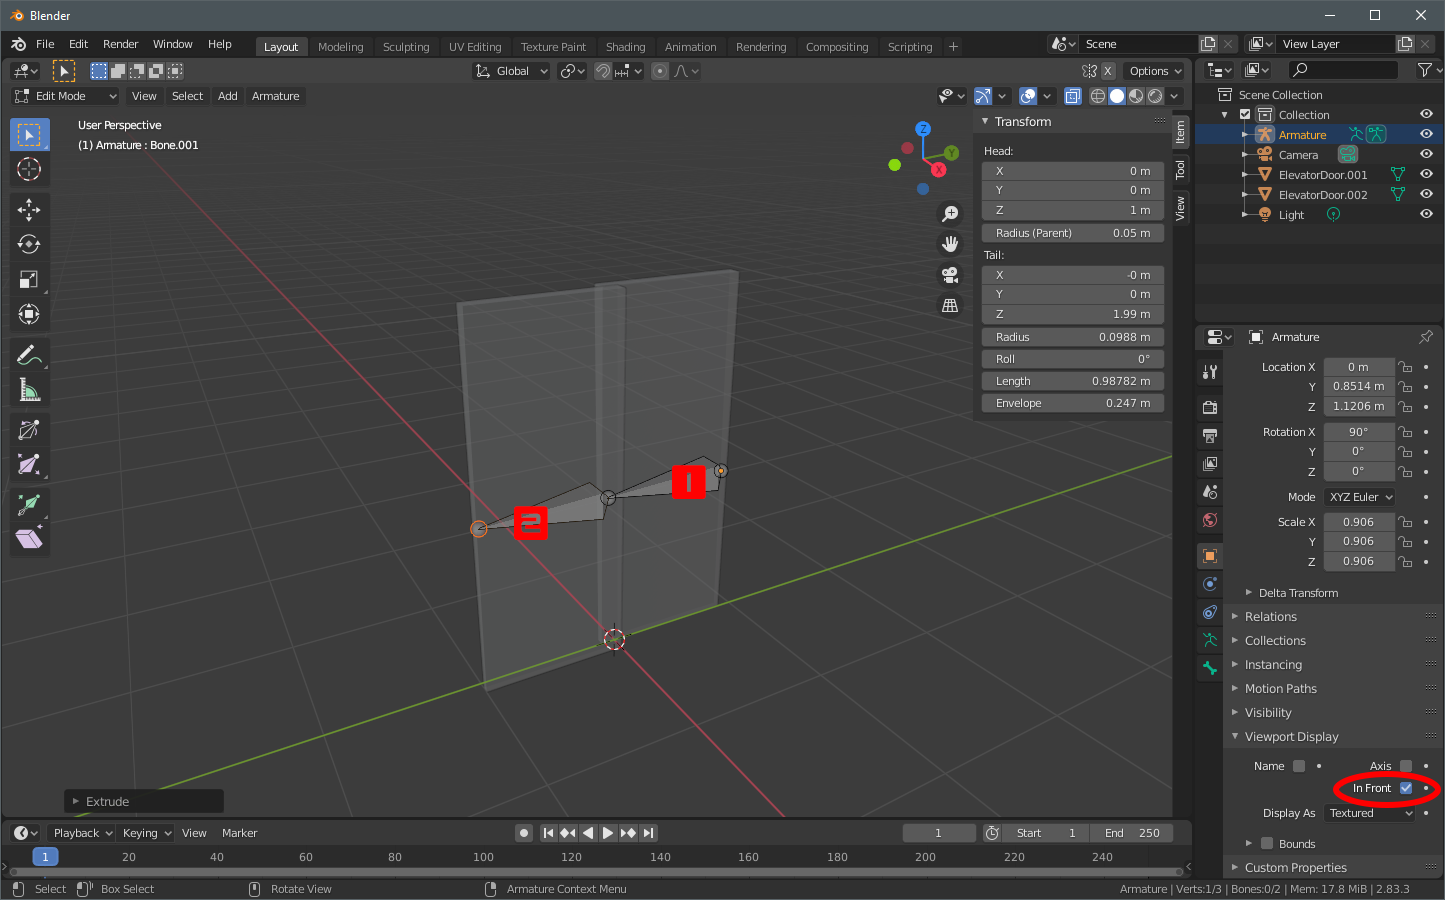
Go ahead and place the first bone (Add -> Armature). I place it on the right edge of the right door, and rotate and scale it to lie flat along the Y-axis along the width of the door. Drop into Edit Mode and then [E]xtrude to create the second bone, constrained to the Y-axis and also for the width of the second door. If your armature is obscured by the geometry, you can select In Front to have it visible in any viewport shading mode.
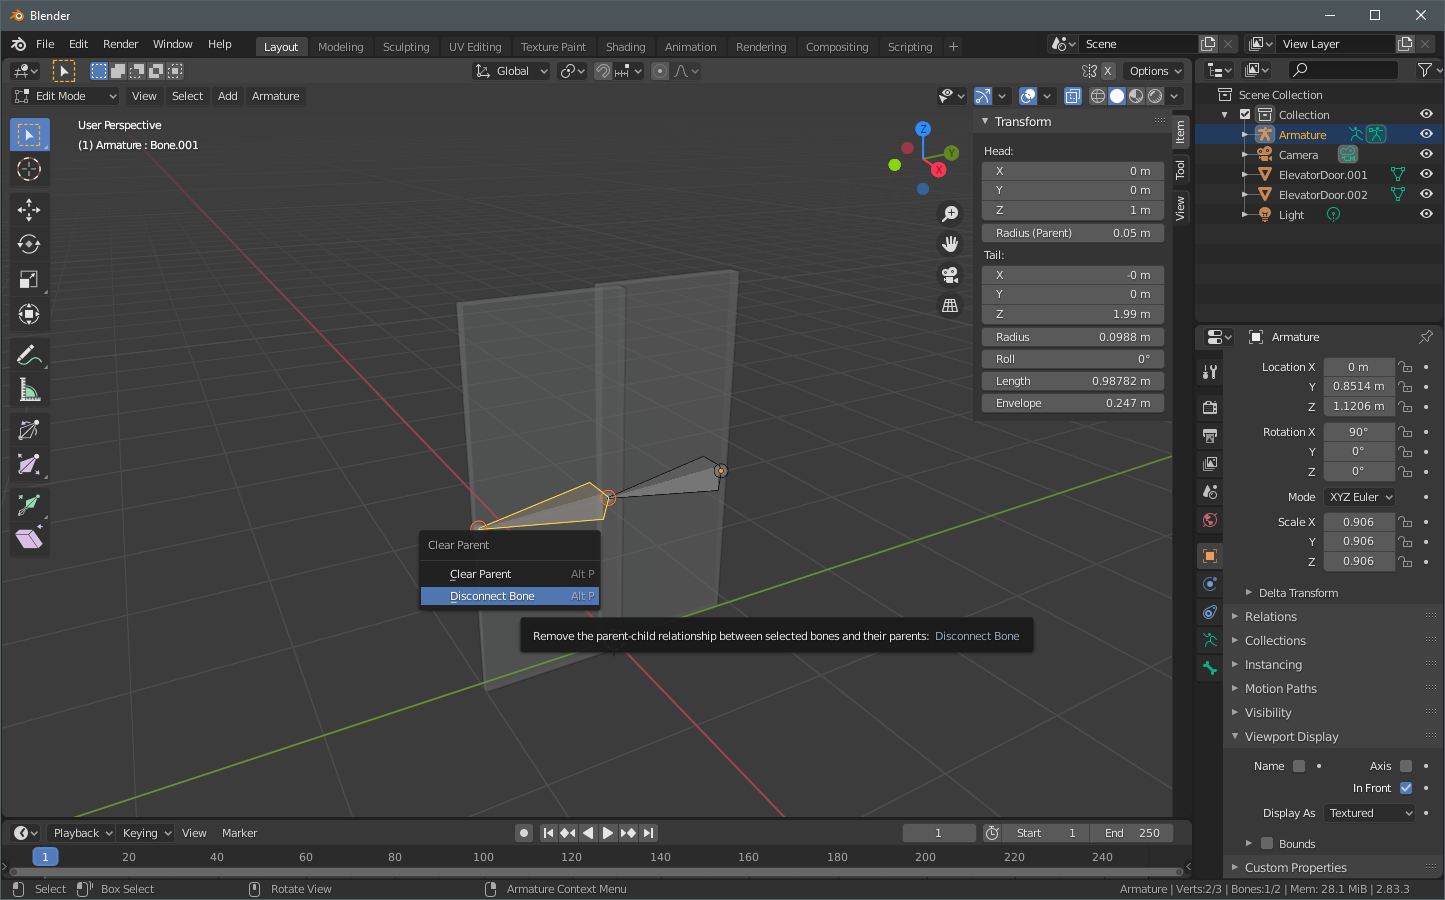
With the second bone selected (yellow highlight), press [Alt+P] to bring up the Clear Parent menu and Disconnect it.
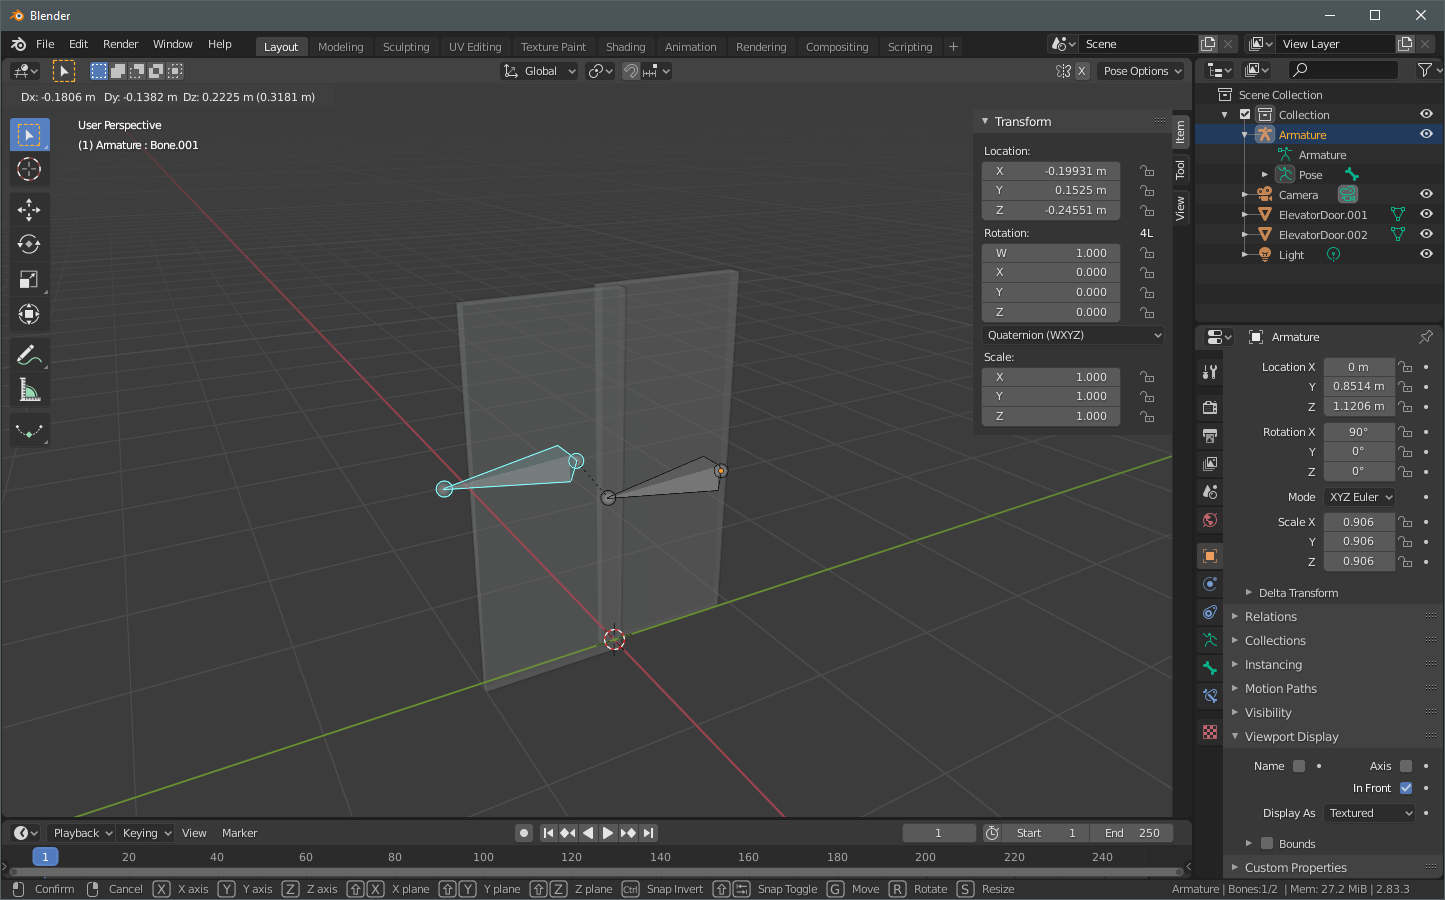
Test this action by switching into Pose Mode, [G]rabbing this bone and moving it around. Only it should move. Select the first bone, [G]rab it and move it. The second bone should also move with it. Undo these movements.
The next step is to bind your geometry to the respective bones. Don’t use automatic weights! Back out to Object Mode. Select the first door, and the armature.
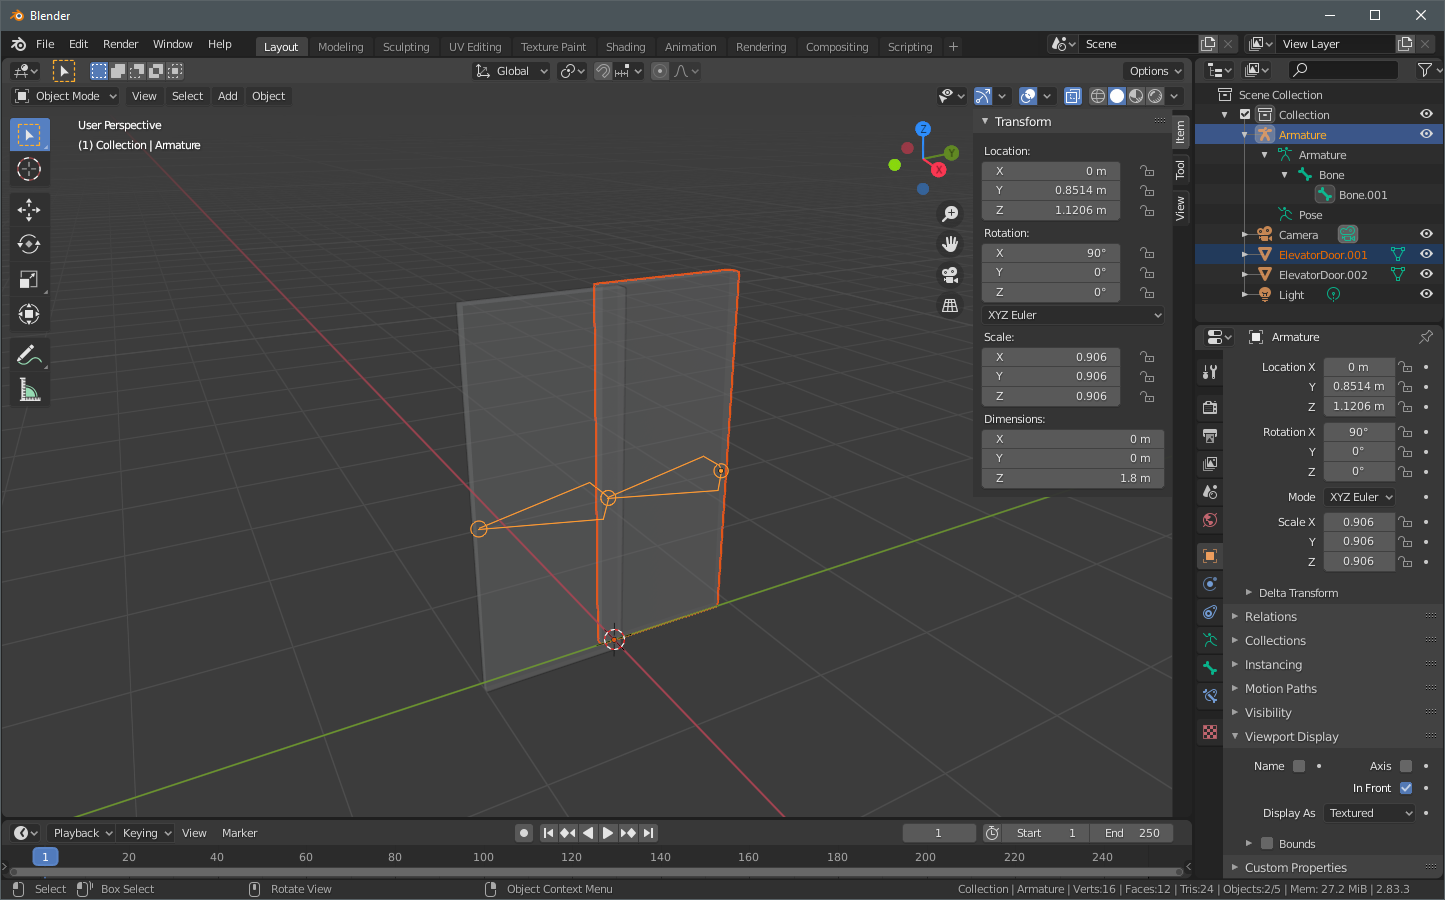
Once you’ve got the armature selected, you can go into Pose Mode. From there, make sure only the first bone is selected. It should highlight blue, while the door is the dark orange highlight. Now [Ctrl+P] to show the Set Parent To menu, and select Bone only.
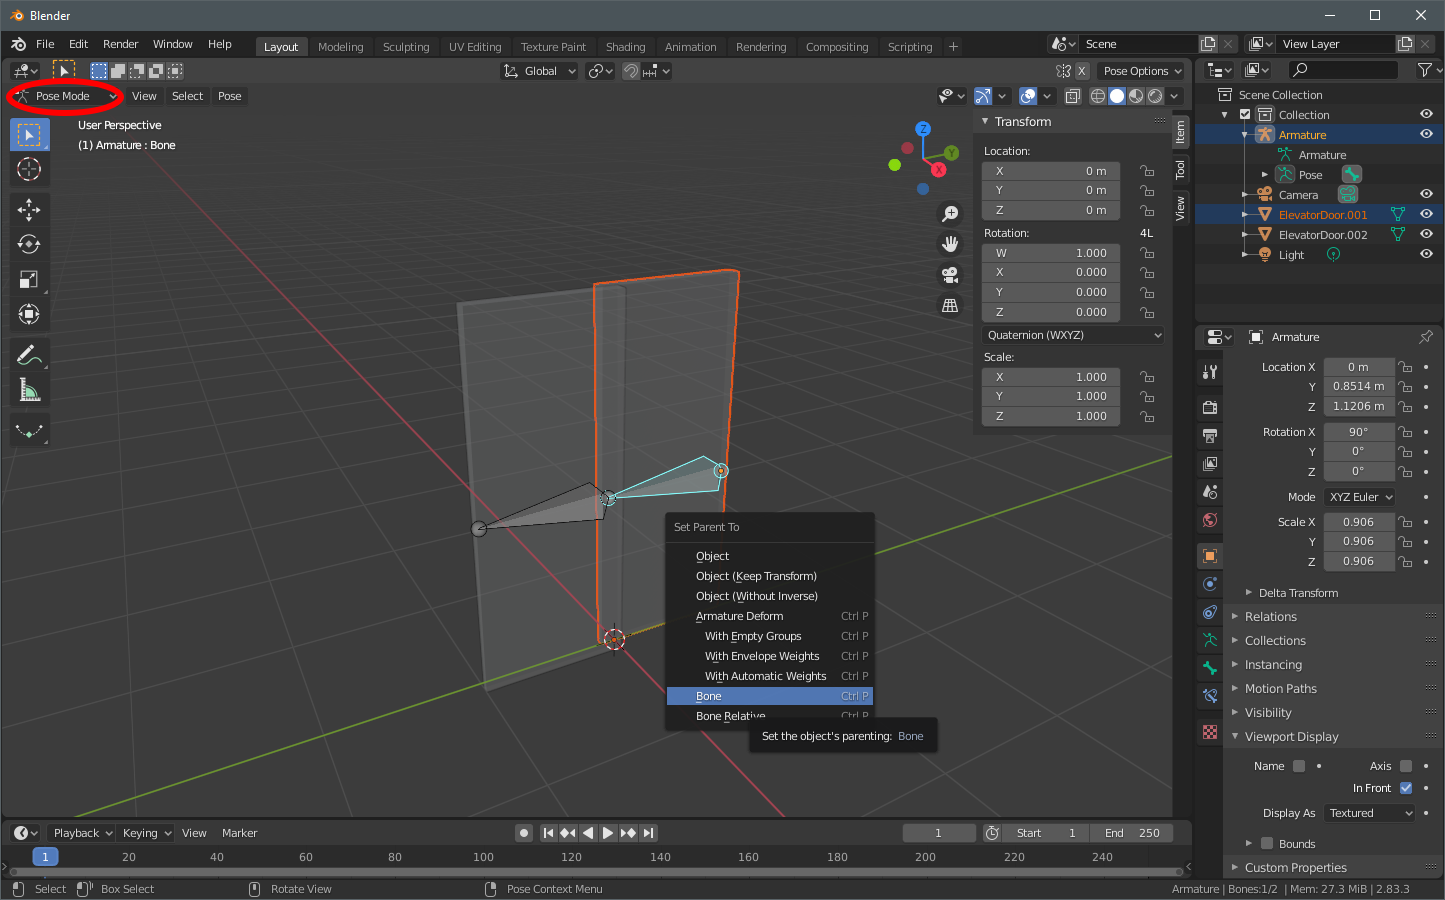
While you’re in Pose Mode, [G]rab that first bone and move it. With it should move that door you just parented, and the other bone. Nothing else should move with it.
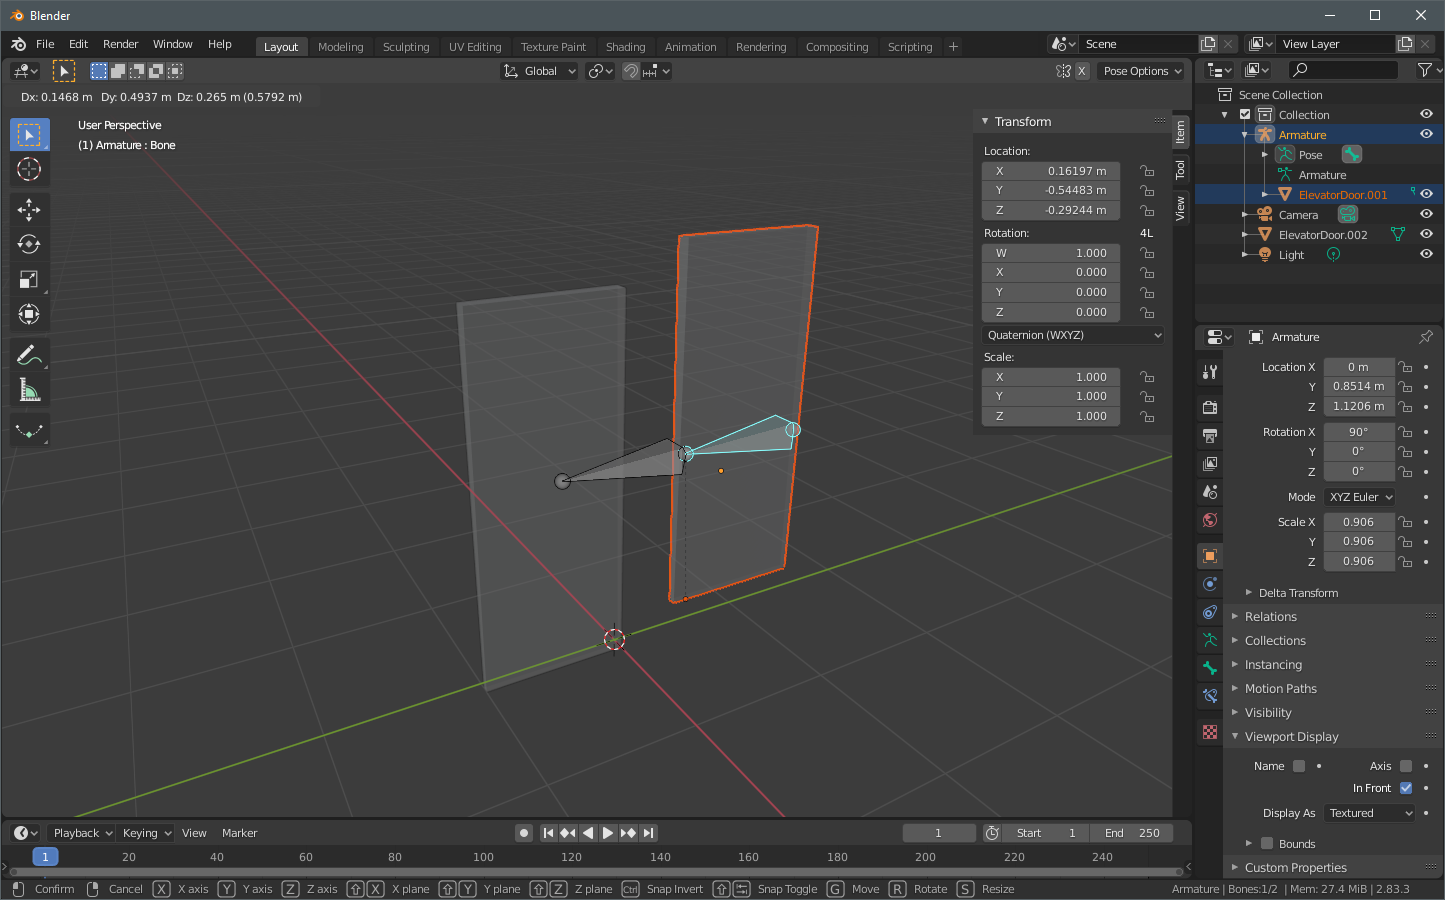
When that checks out, back out to Object Mode again and repeat the process for the other door and other bone.
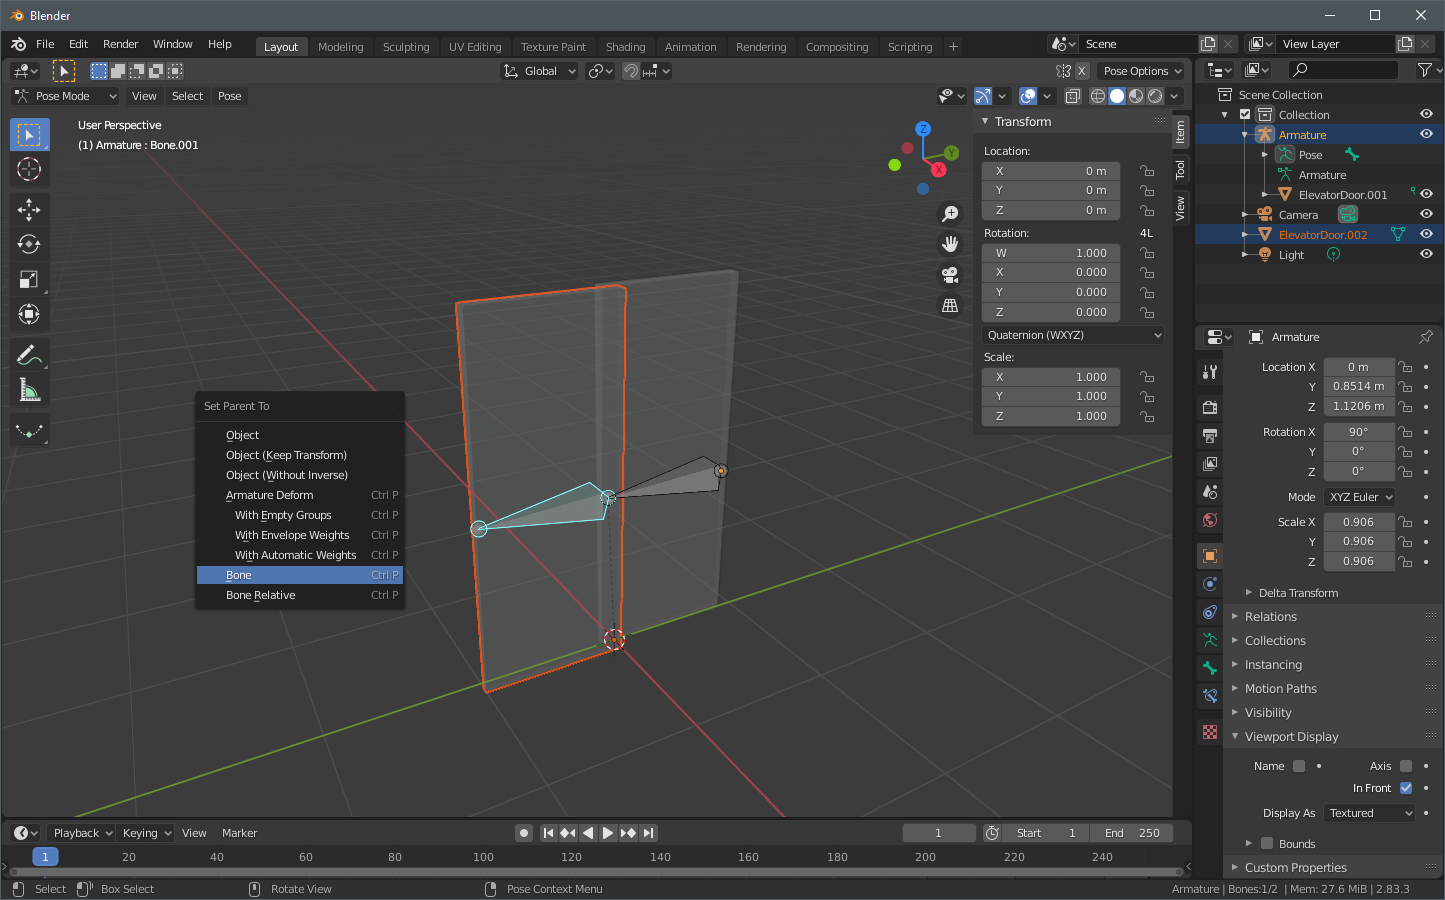
This should have you all setup with your door mechanism structured correctly. Back out to Object Mode and deselect everything. Select just the armature and now you’re ready to go into Pose Mode and keyframe the movement of your bones. Select the first bone, [I]insert a keyframe for LocRot (location & rotation) at frame 0. Move to frame 100 and [G]rab that first bone and slide it to the side. [I]insert another keyframe here. You’ll see that the second bone and door slide with it.
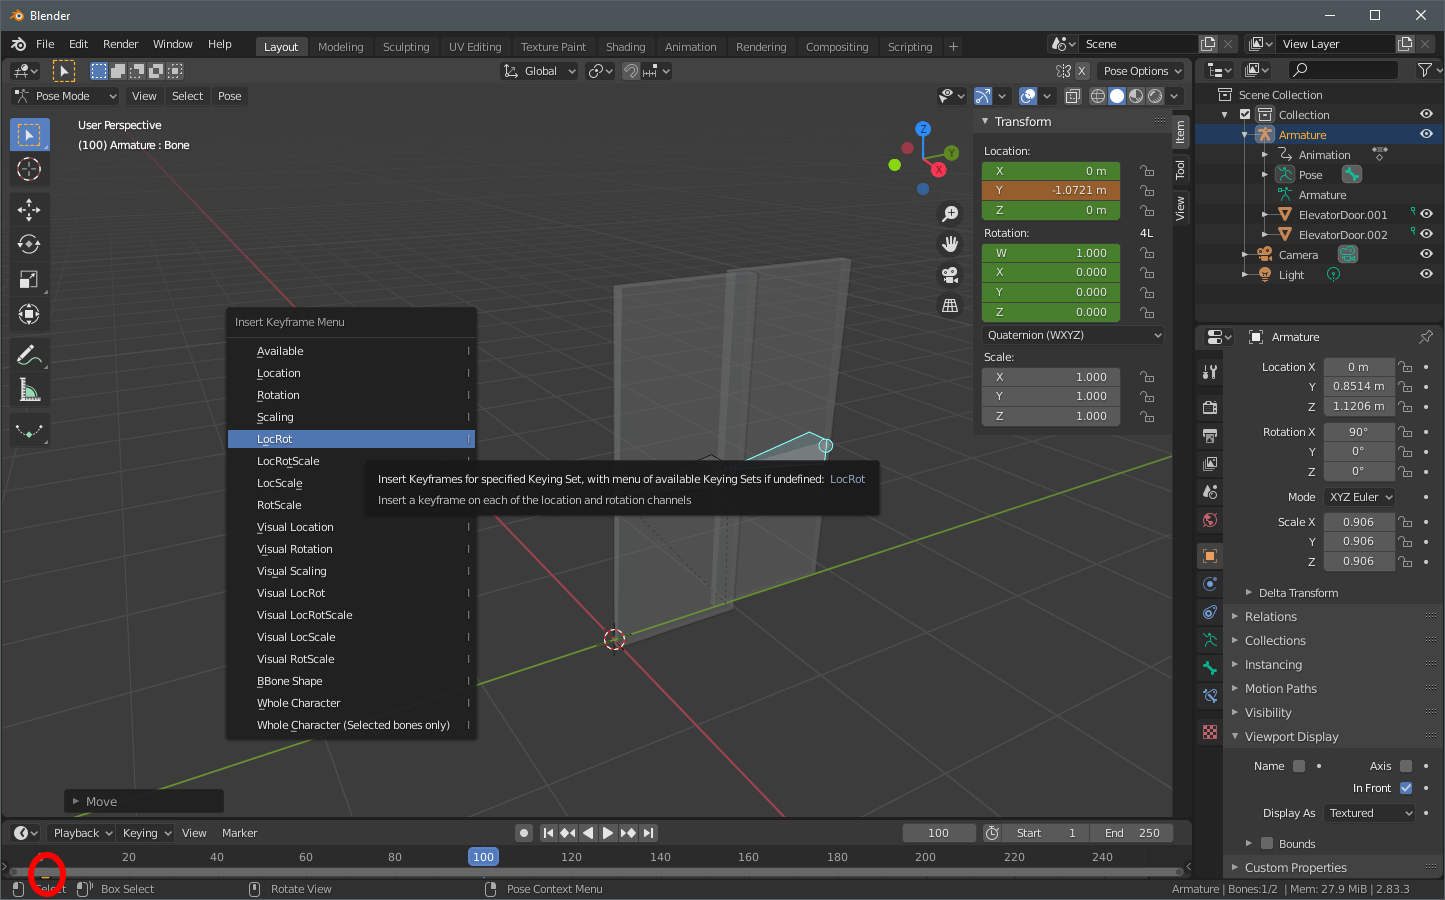
Now move back to frame 0, select the second bone and [I]insert a keyframe for it for LocRot too. Go to frame 100 again and [G]rab the second bone and slide it even further so that the second door slides over the first door. [I]insert another keyframe for the second door here.
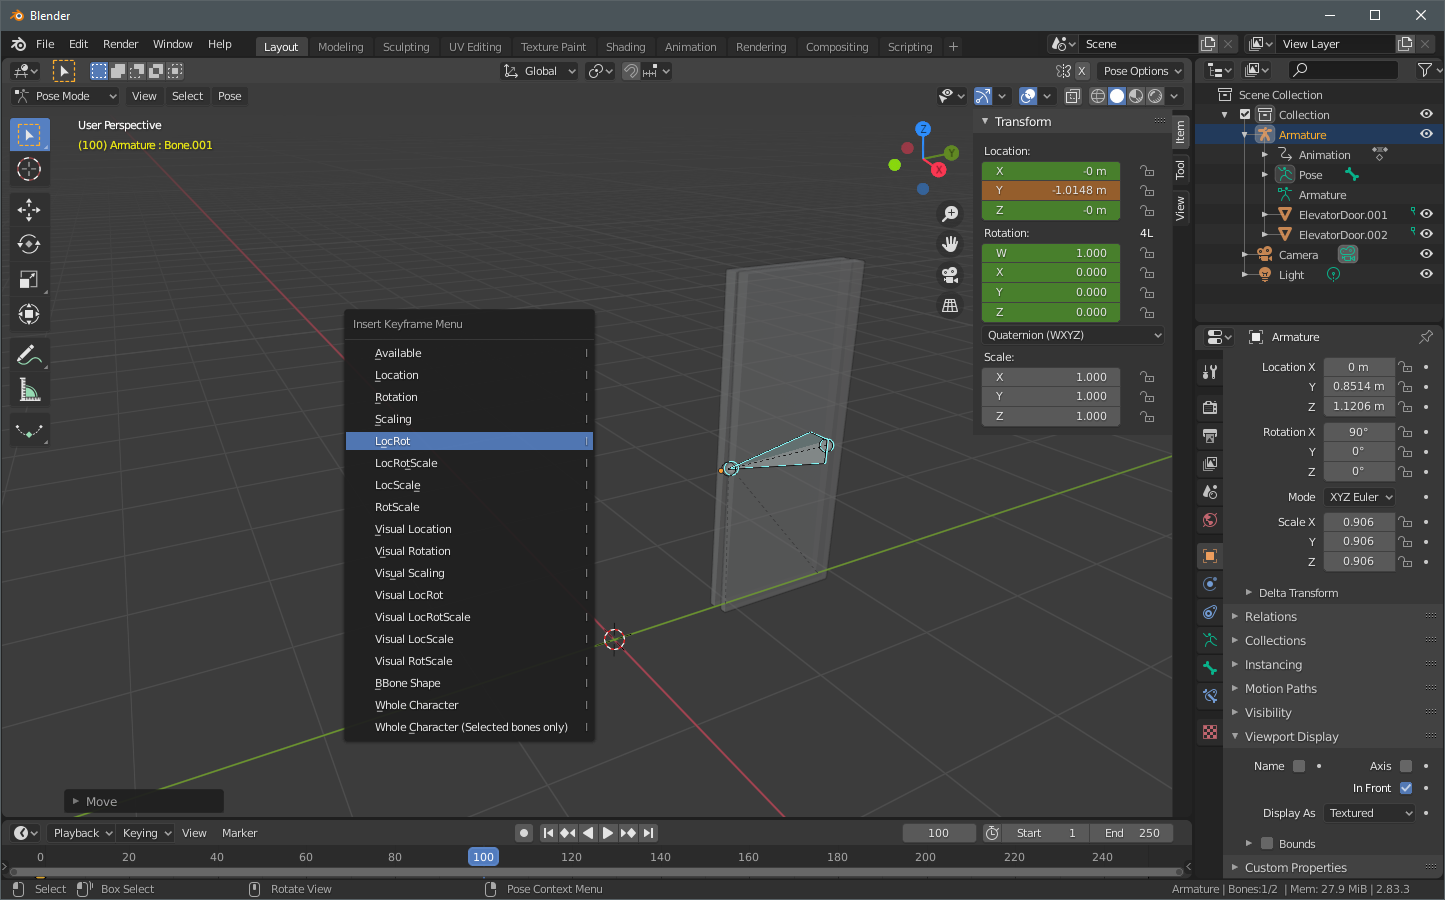
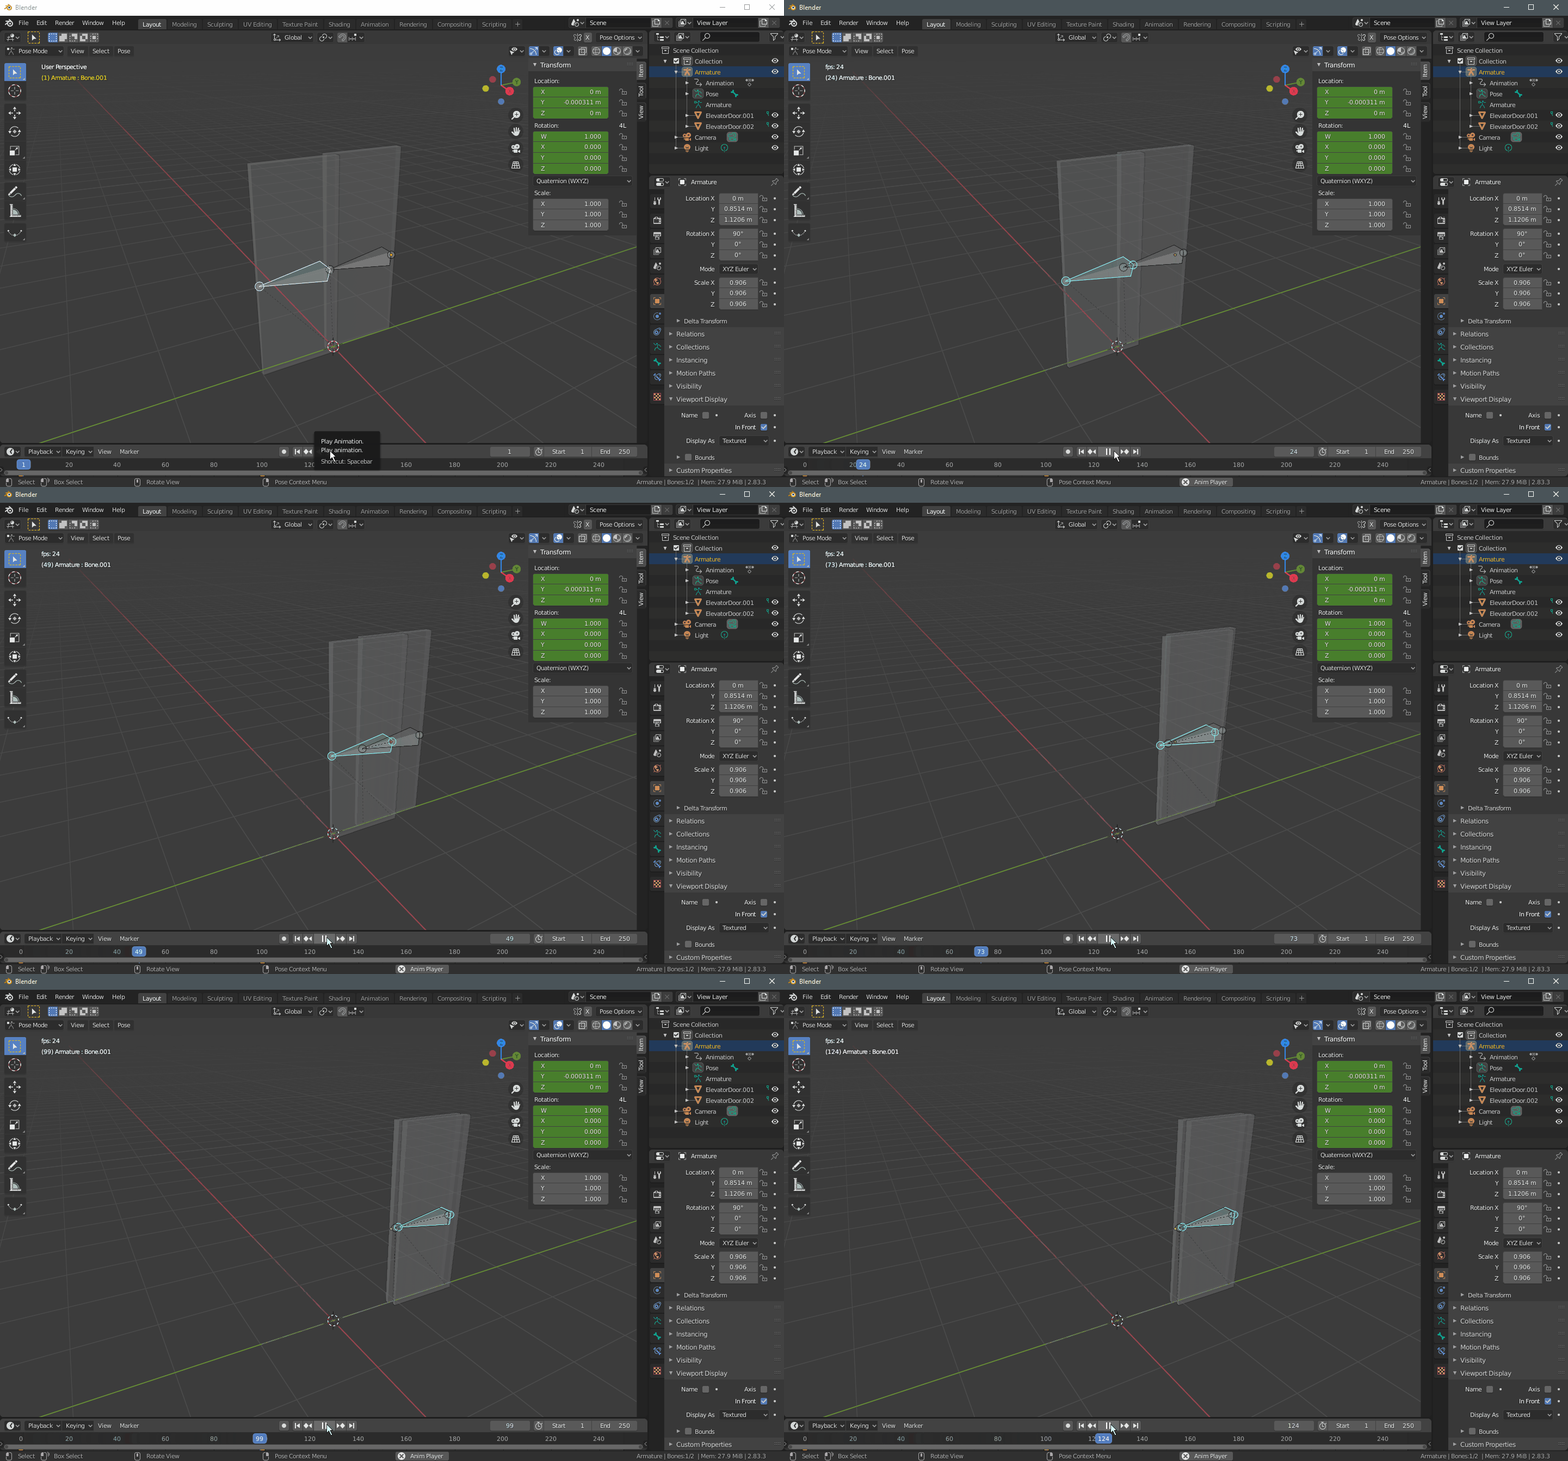
Use the animation play/pause buttons to see your work. Switch to the Animation view and use the dope sheet or graph view to tweak the ease-in or ease-out or move the keyframes and such until you’re happy with the result.
Next episode: Import it to Unreal Engine and make a blueprint.
