Published on 9/20/2022
This is something I’ve watched videos about so many times, and every time I have to rewatch a video in order to get it right, and then I still struggle every time. So I decided to write it up for myself.
Outline
The things that affect the outcome of the baking are:
- Modifiers not applied to high poly model.
- Incorrectly assigned materials.
- Image Texture not set to Generated and Non-Color.
- Image Texture size not set correctly.
- Normal Map input not set up or not set to Tangent Space.
- Objects selected in incorrect order.
- Objects are not set to render.
Models
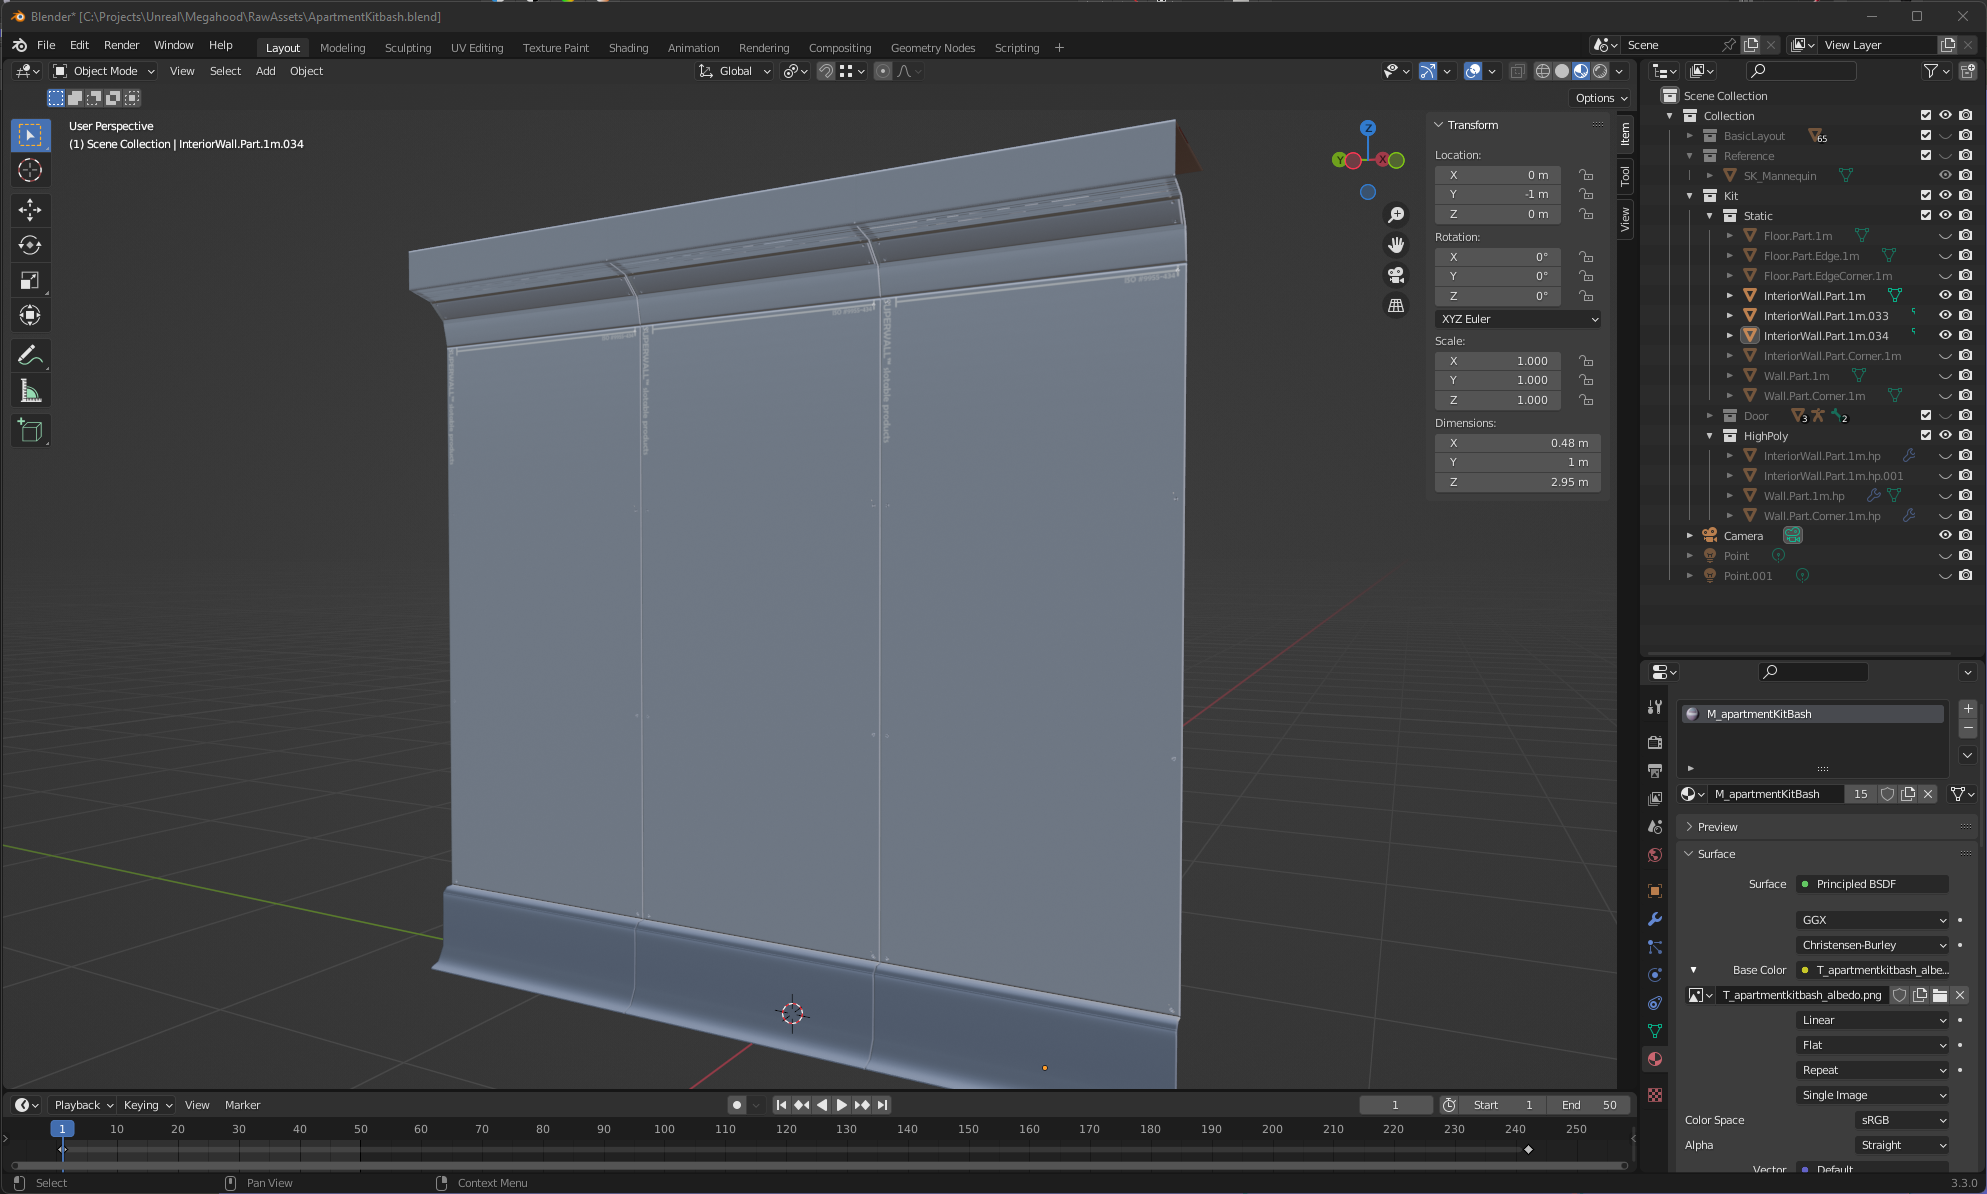
If you’ve searched the internet for how to bake a normal map and reached this page, then I’m going to assume that you have a low poly model which is properly unwrapped, and an equivalent high-poly model.
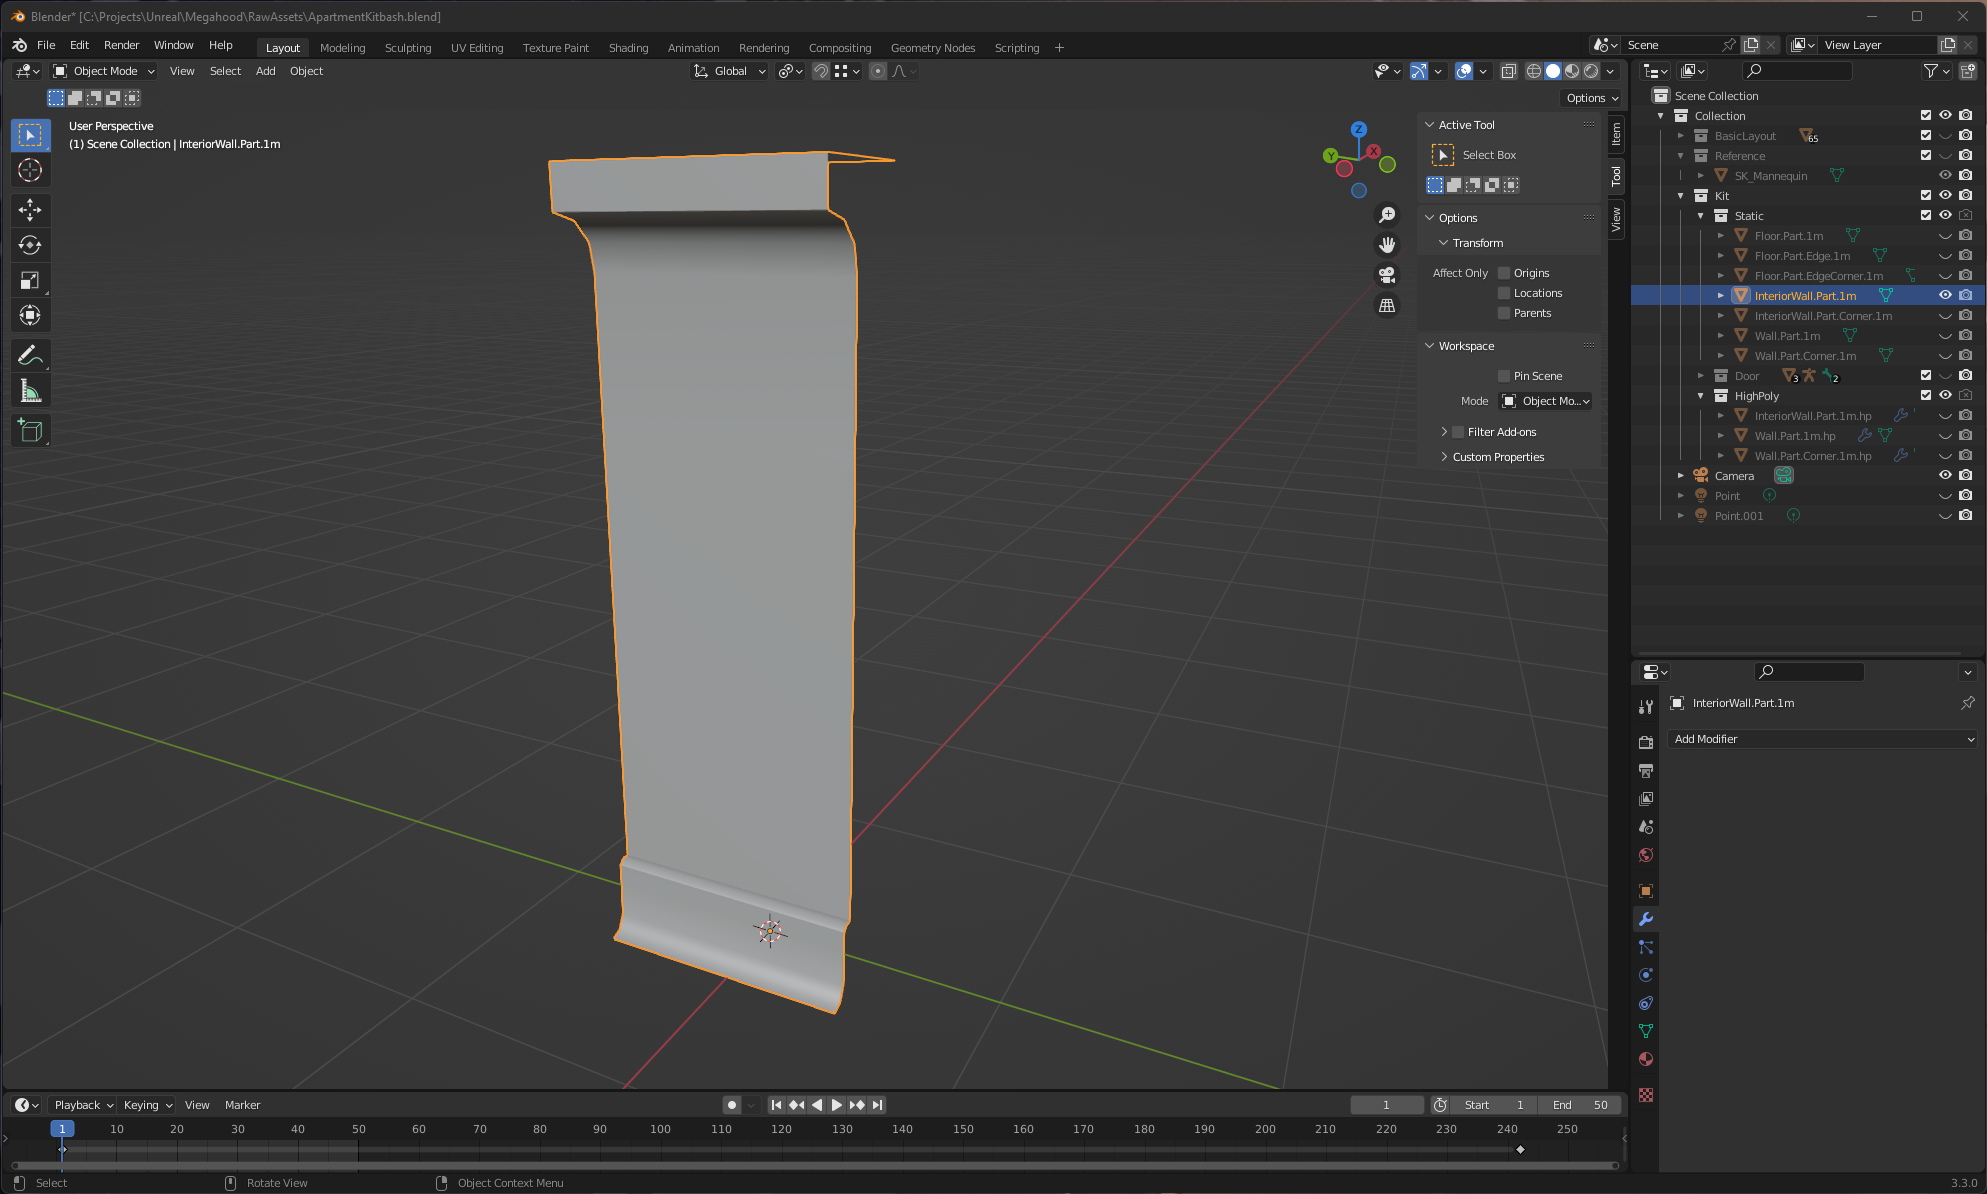
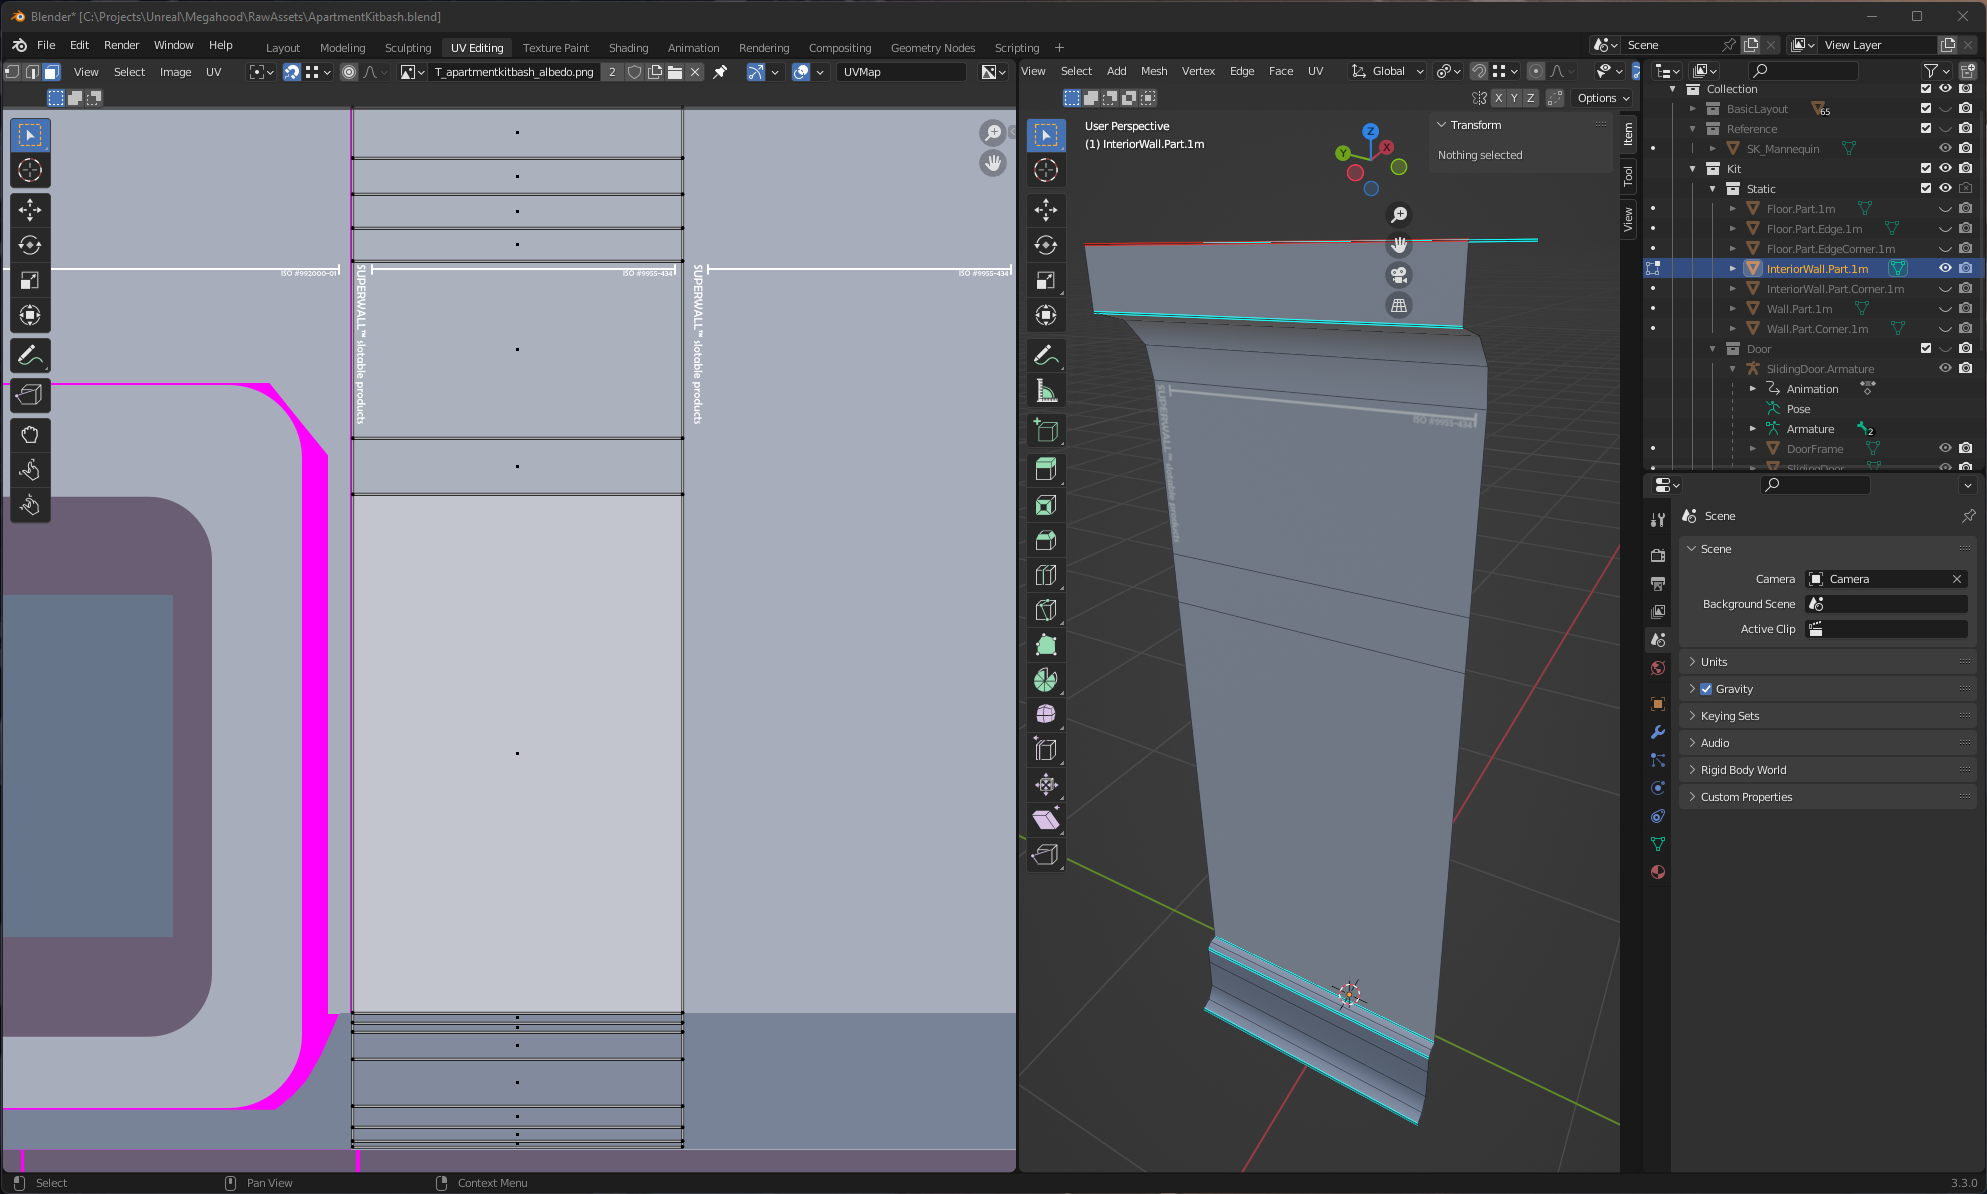
The low poly and high poly should occupy the same space.
Material
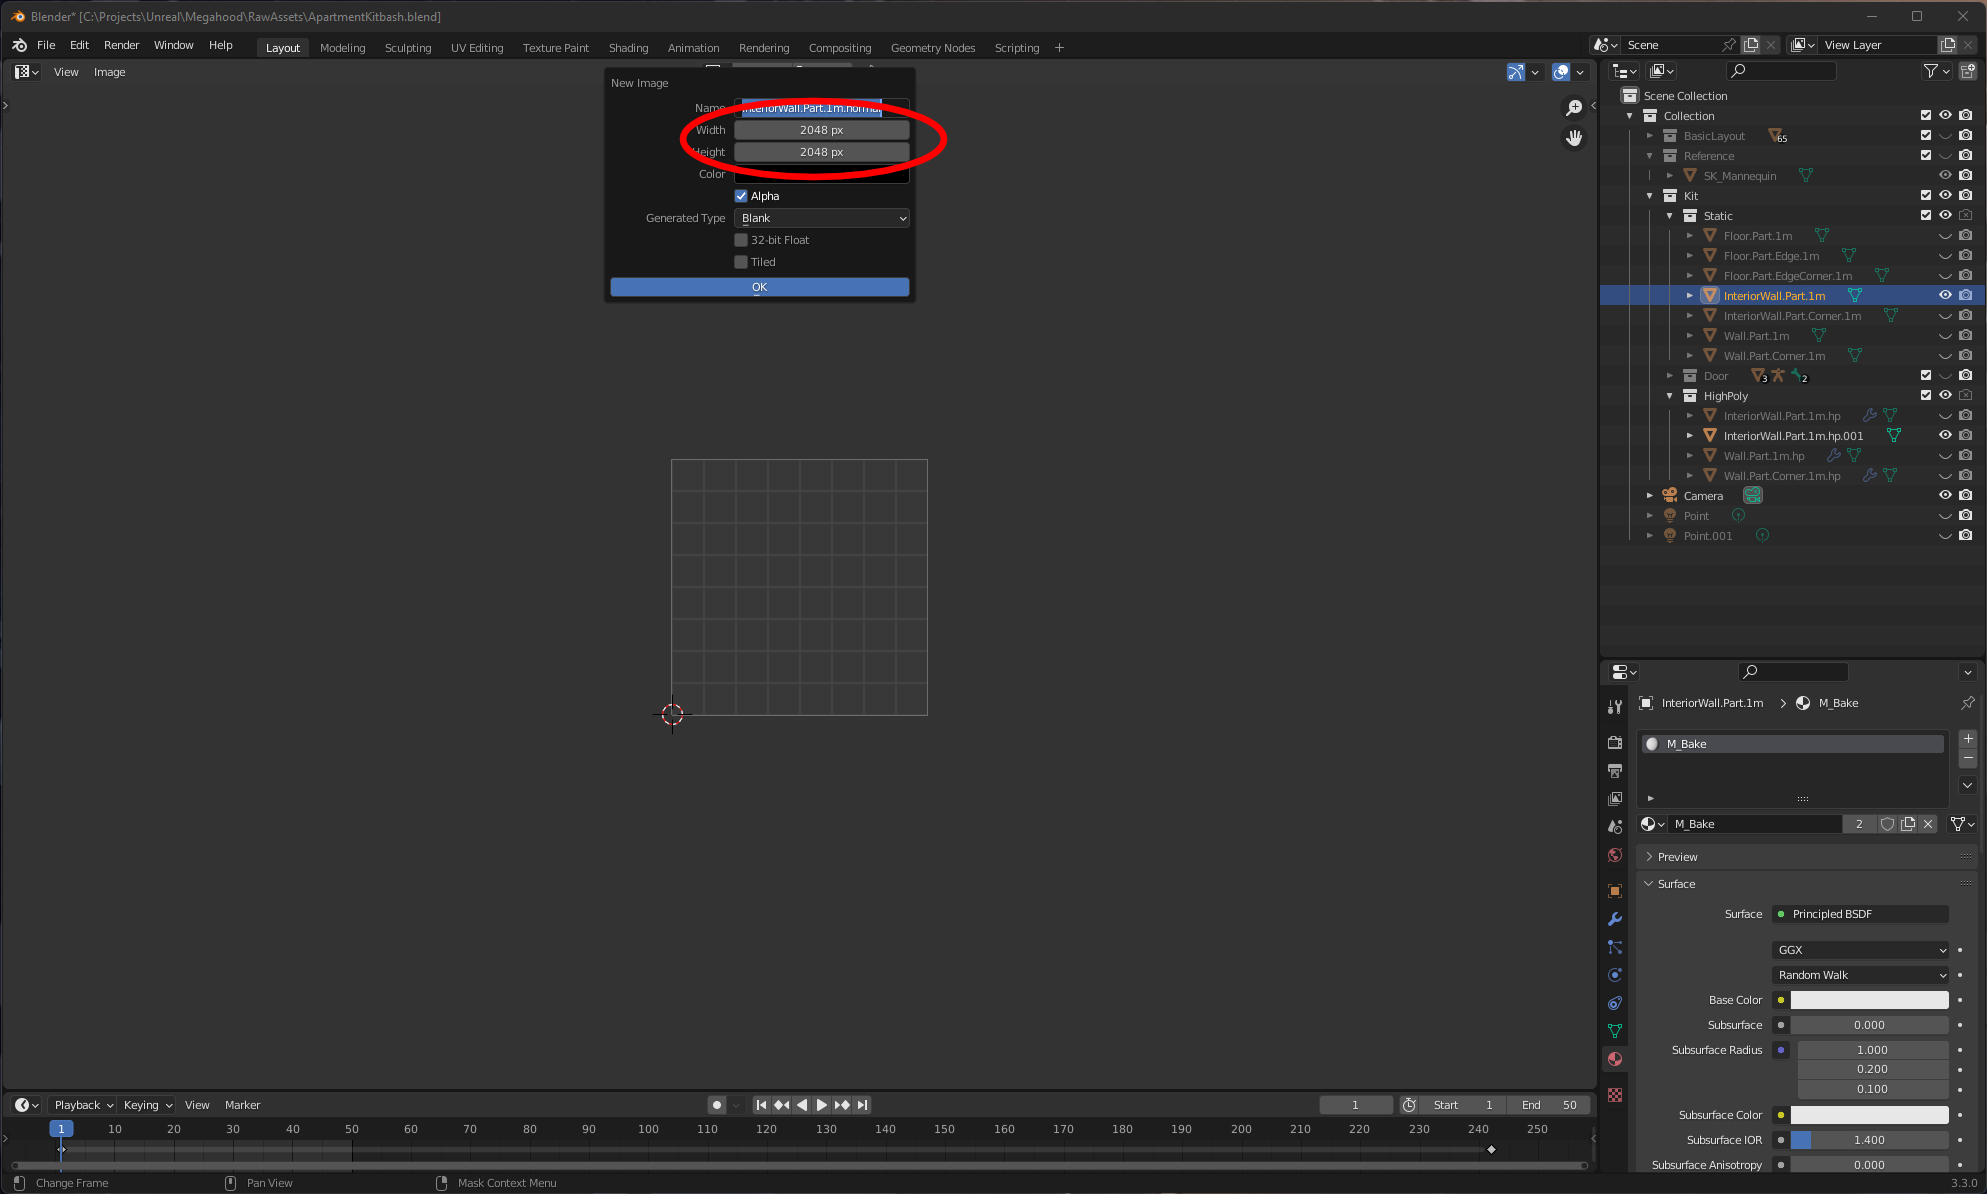
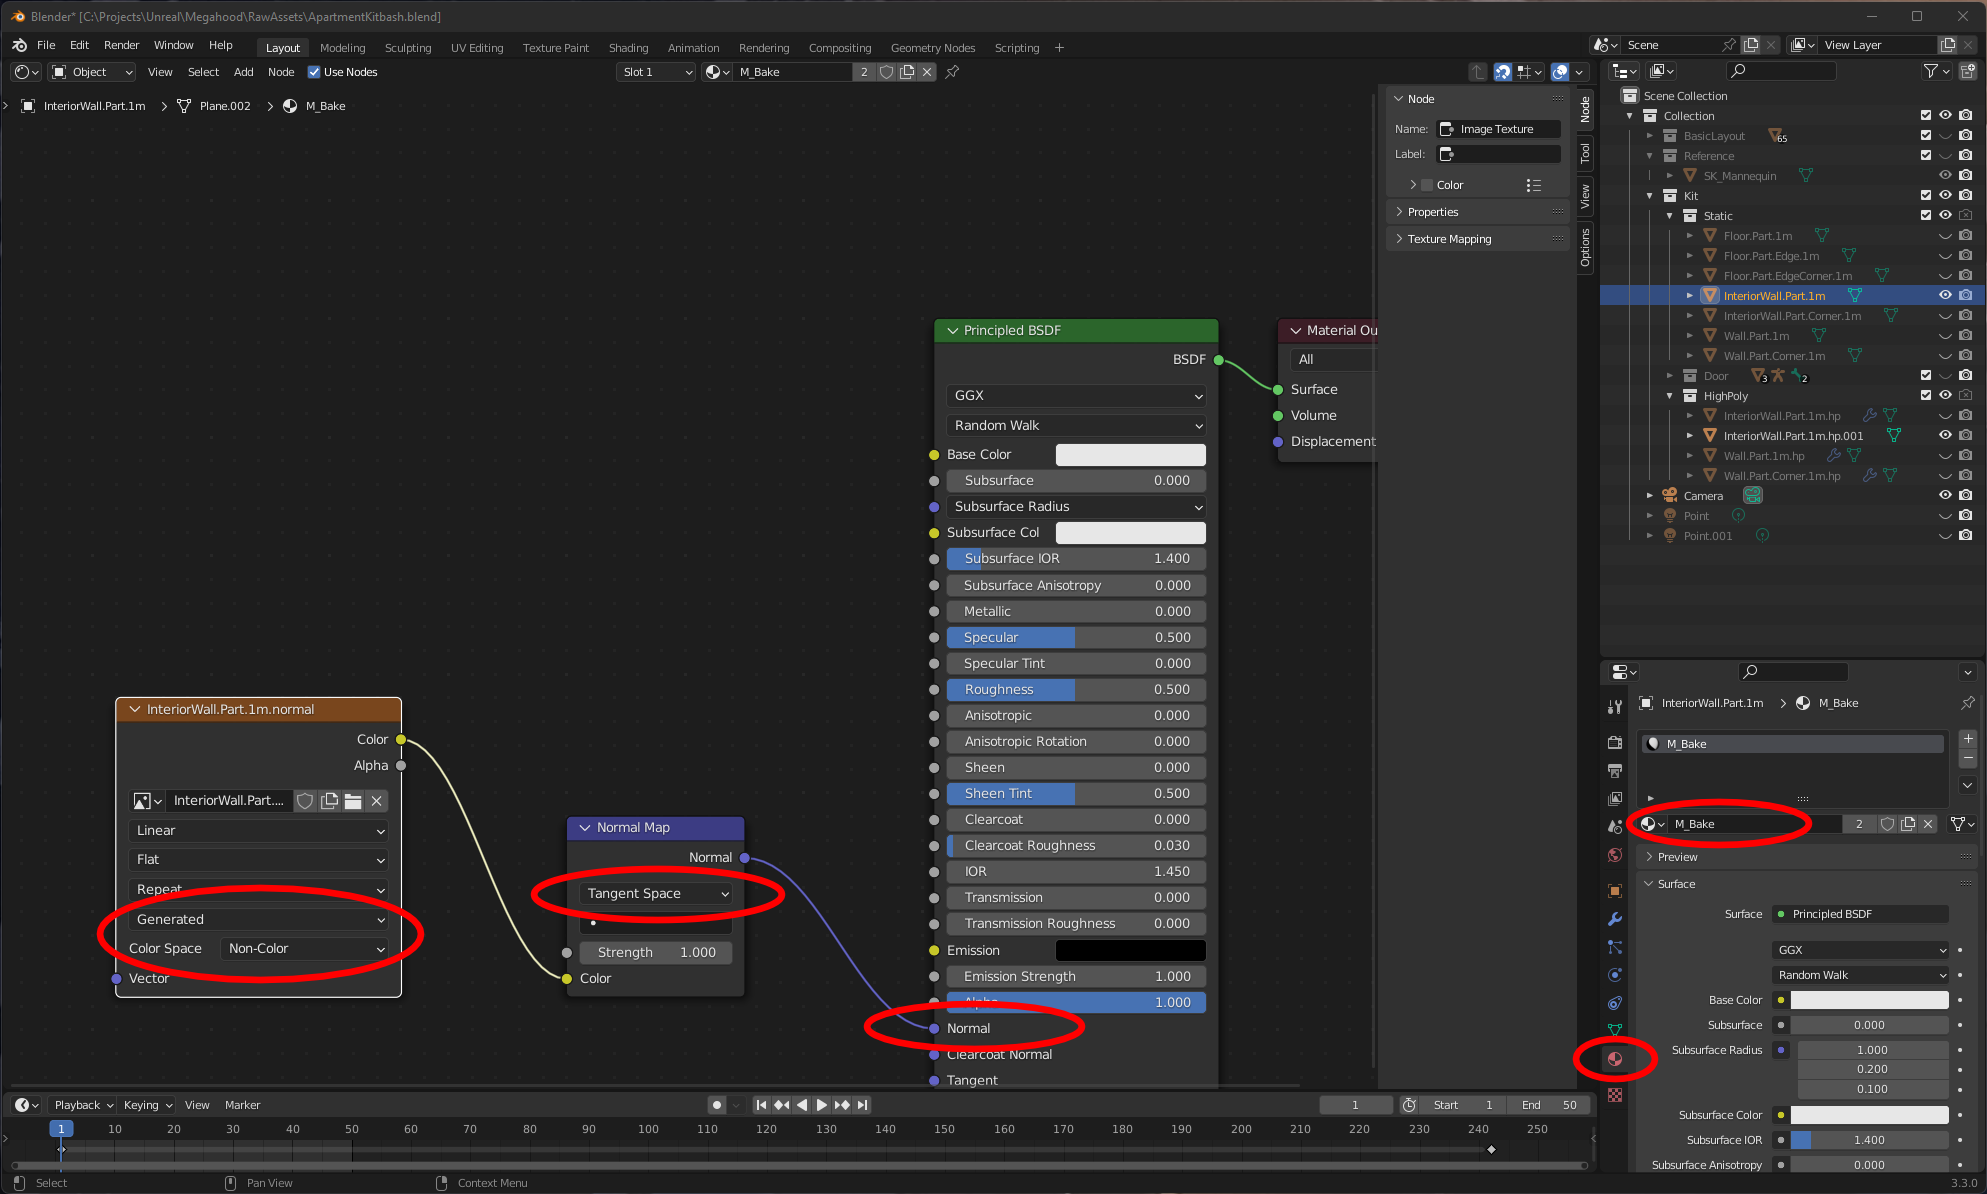
My advice is to create a special baking material, which has no other maps or nodes assigned to it or hooked up to it. Make sure this map is assigned to both the low poly and the high poly models. If a different material is assigned to the high poly, it will contribute to the baking process. Basically the results won’t include only the model, but whatever effect the other material will have as well. (If you know what you’re doing, this is perhaps something you can use to your advantage). Set up a tangent space normal map input for the normal map of the material, and link to it a texture source. Create a new texture source here of your desired size and name. Make sure it’s set to Generated, and the color space is Non-Color.
Selection
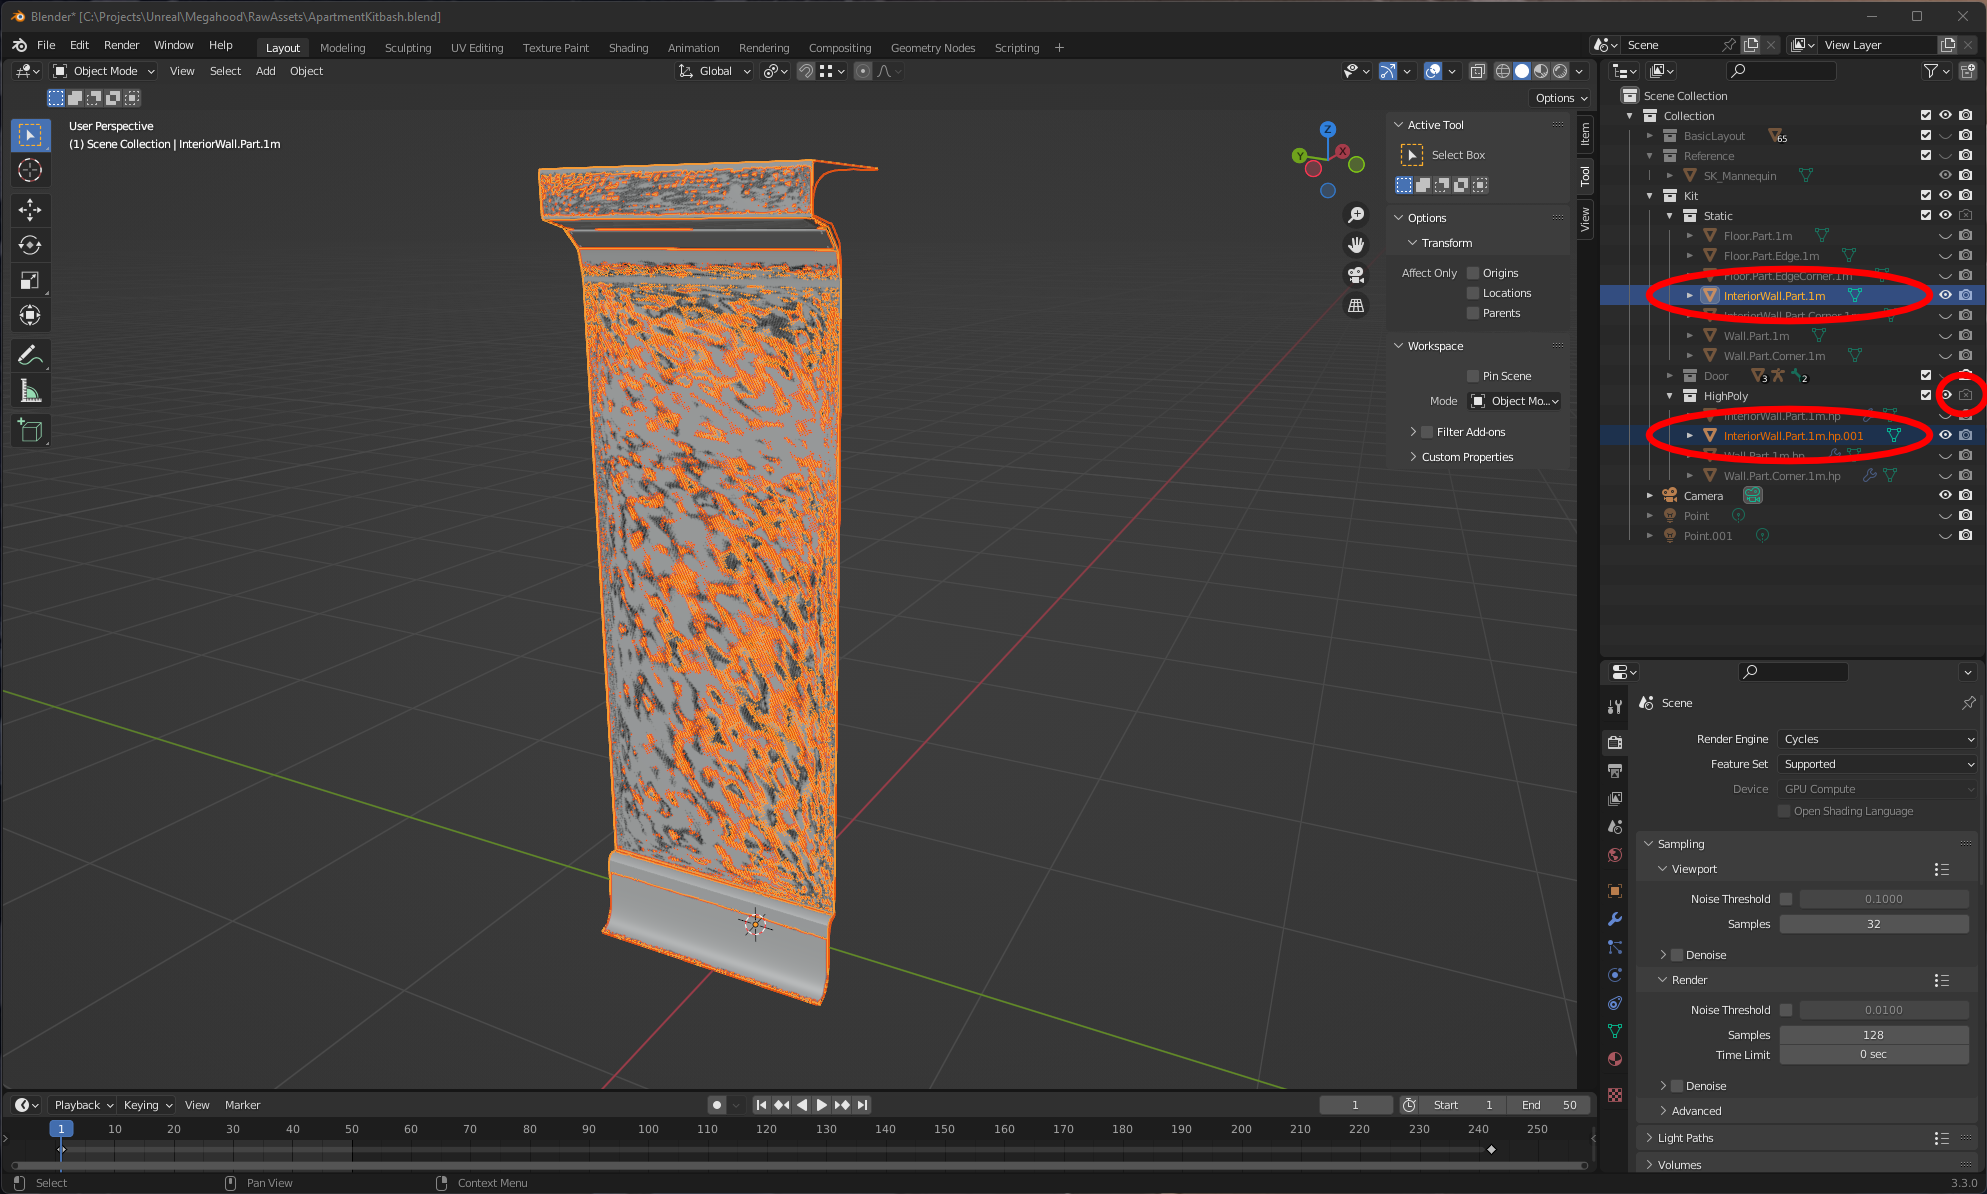
Then in the 3D Viewport, first select the high poly model, then shift select the low poly. The low poly should be the active selected (light yellow/orange) object, and the high poly the secondary (dark orange) selected object. Selecting them the other way around will bake a map for the high poly using the low poly (not ideal!). Also make sure that what you've selected is set to render. You will only get a warning about this for the target object (low poly), and not the high poly.
Baking
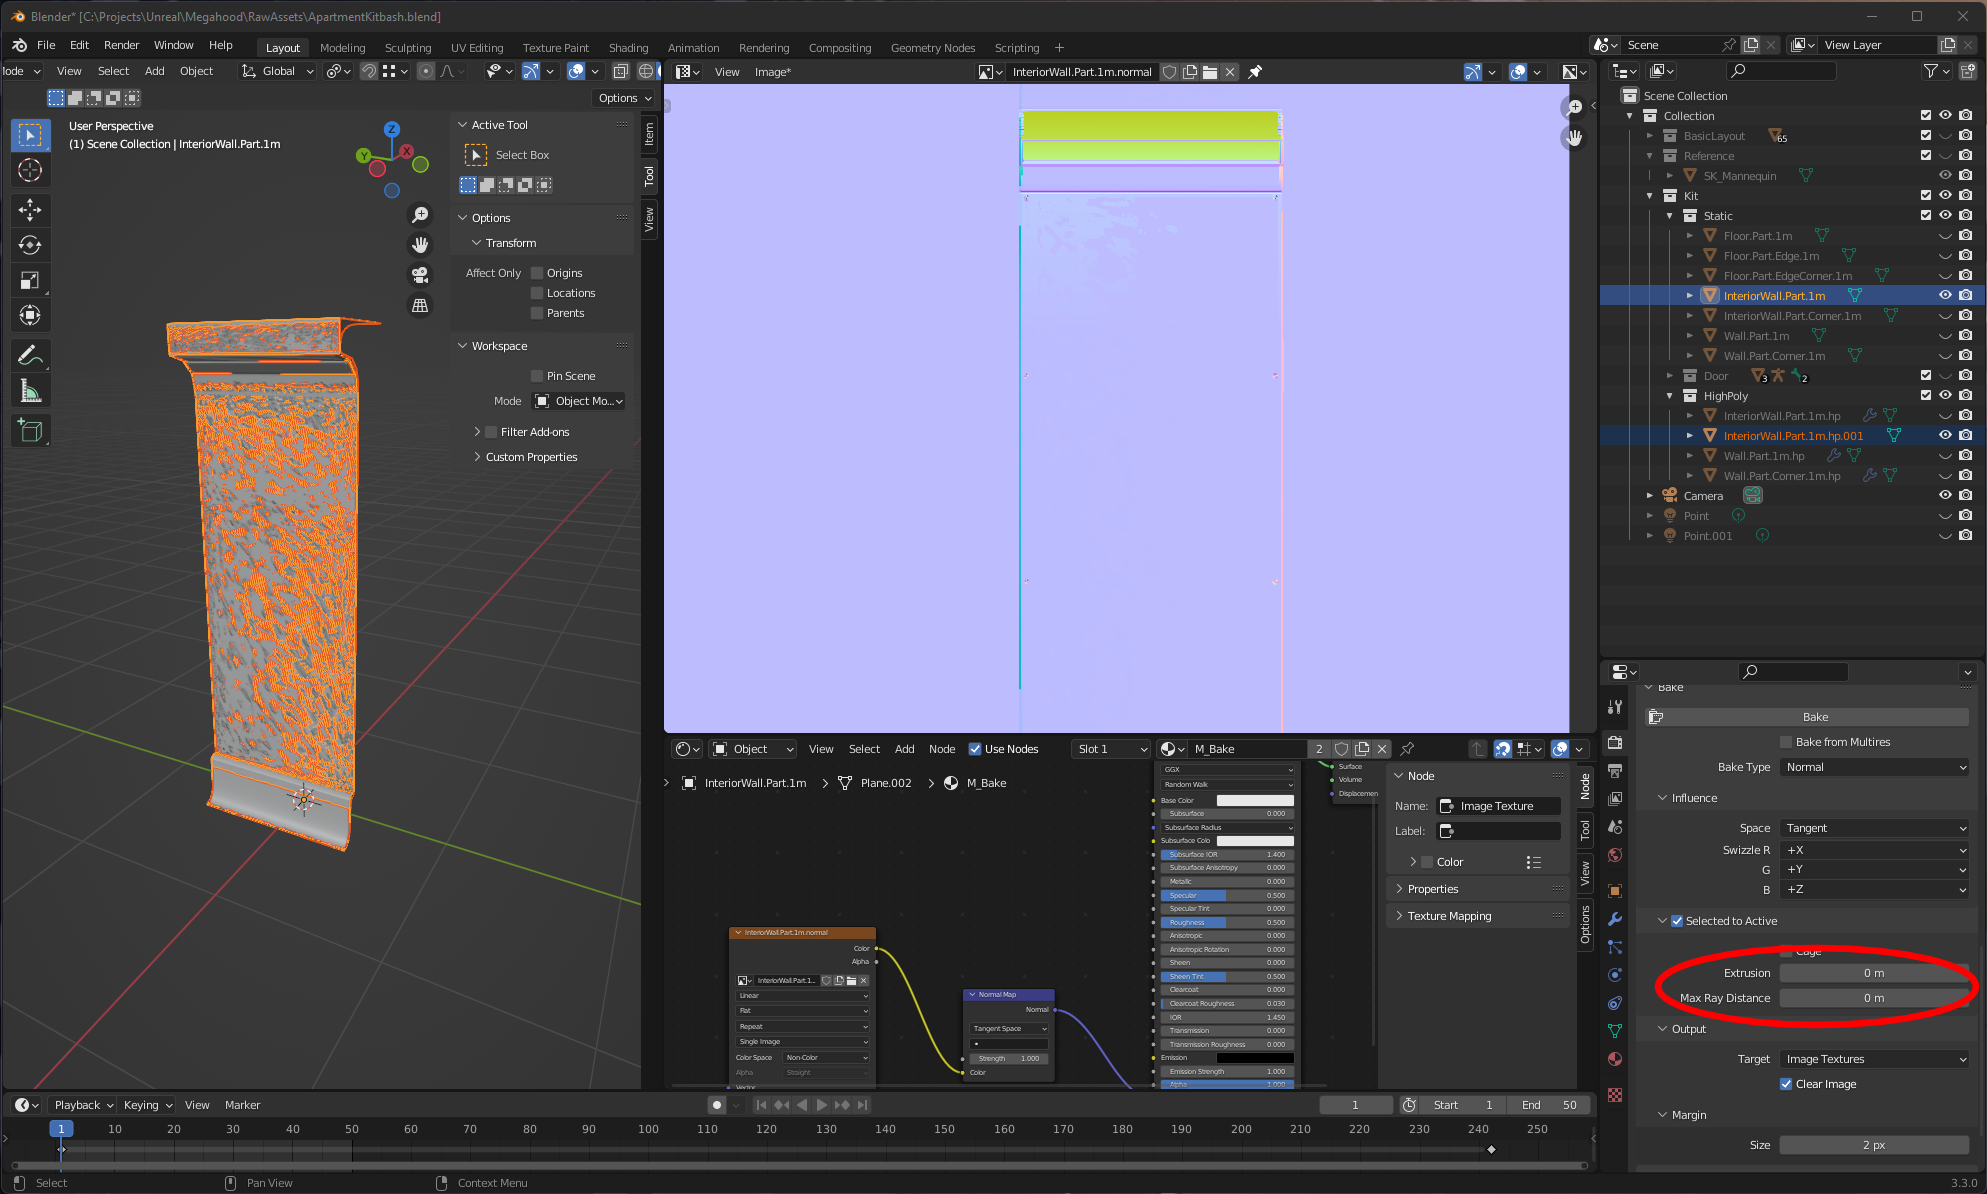
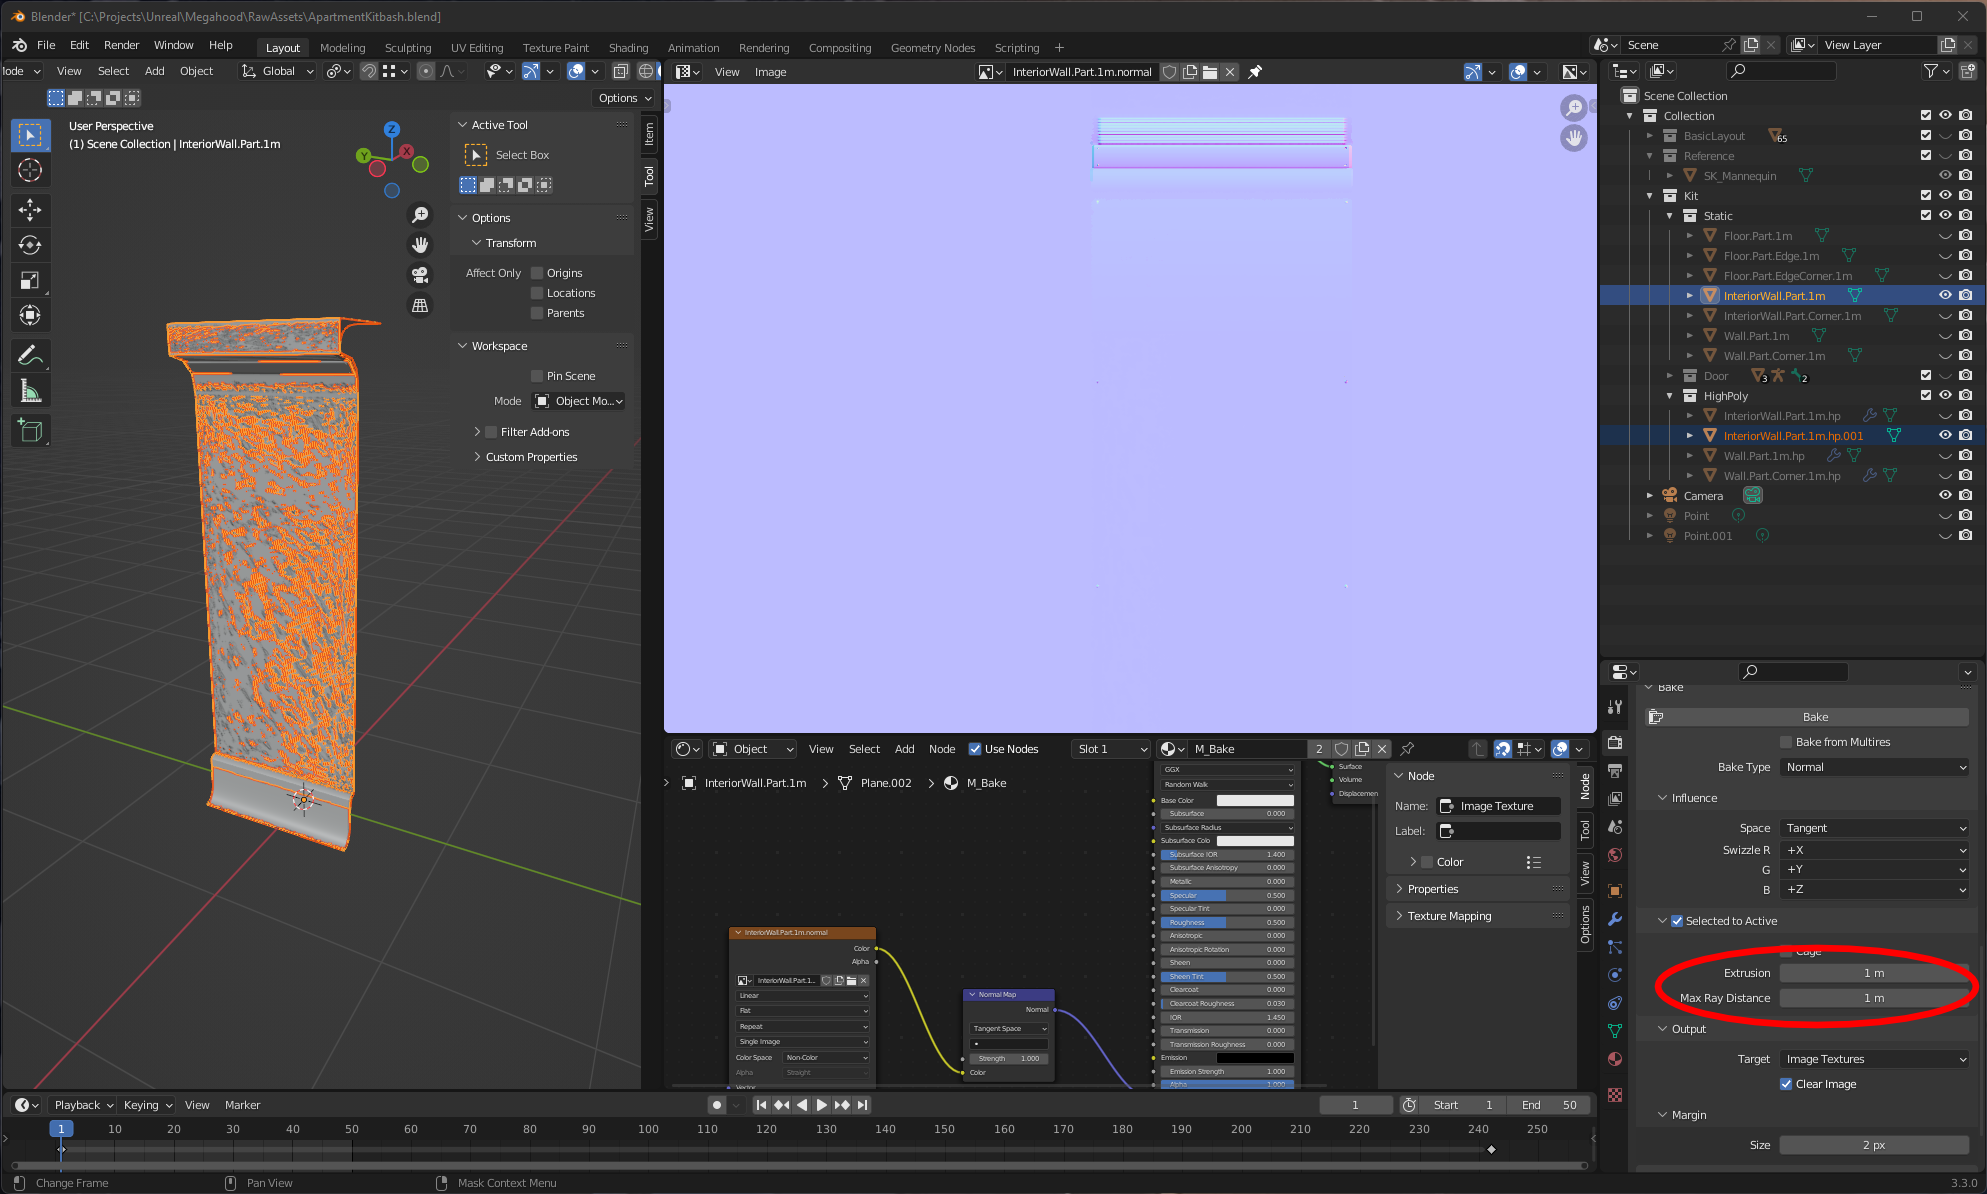
Finally, in the render tab, select to use Cycles, then scroll down to the baking section. Ensure the type to bake is set to Normal, and Selected to Active is marked. You can change the Margin to less pixels to not overlap the UV space so much. Hit the bake button and view the result in the UV Editor with your new texture selected. If things look a bit iffy, try adjusting the Extrusion (or define a cage object), and the Max Ray Distance.
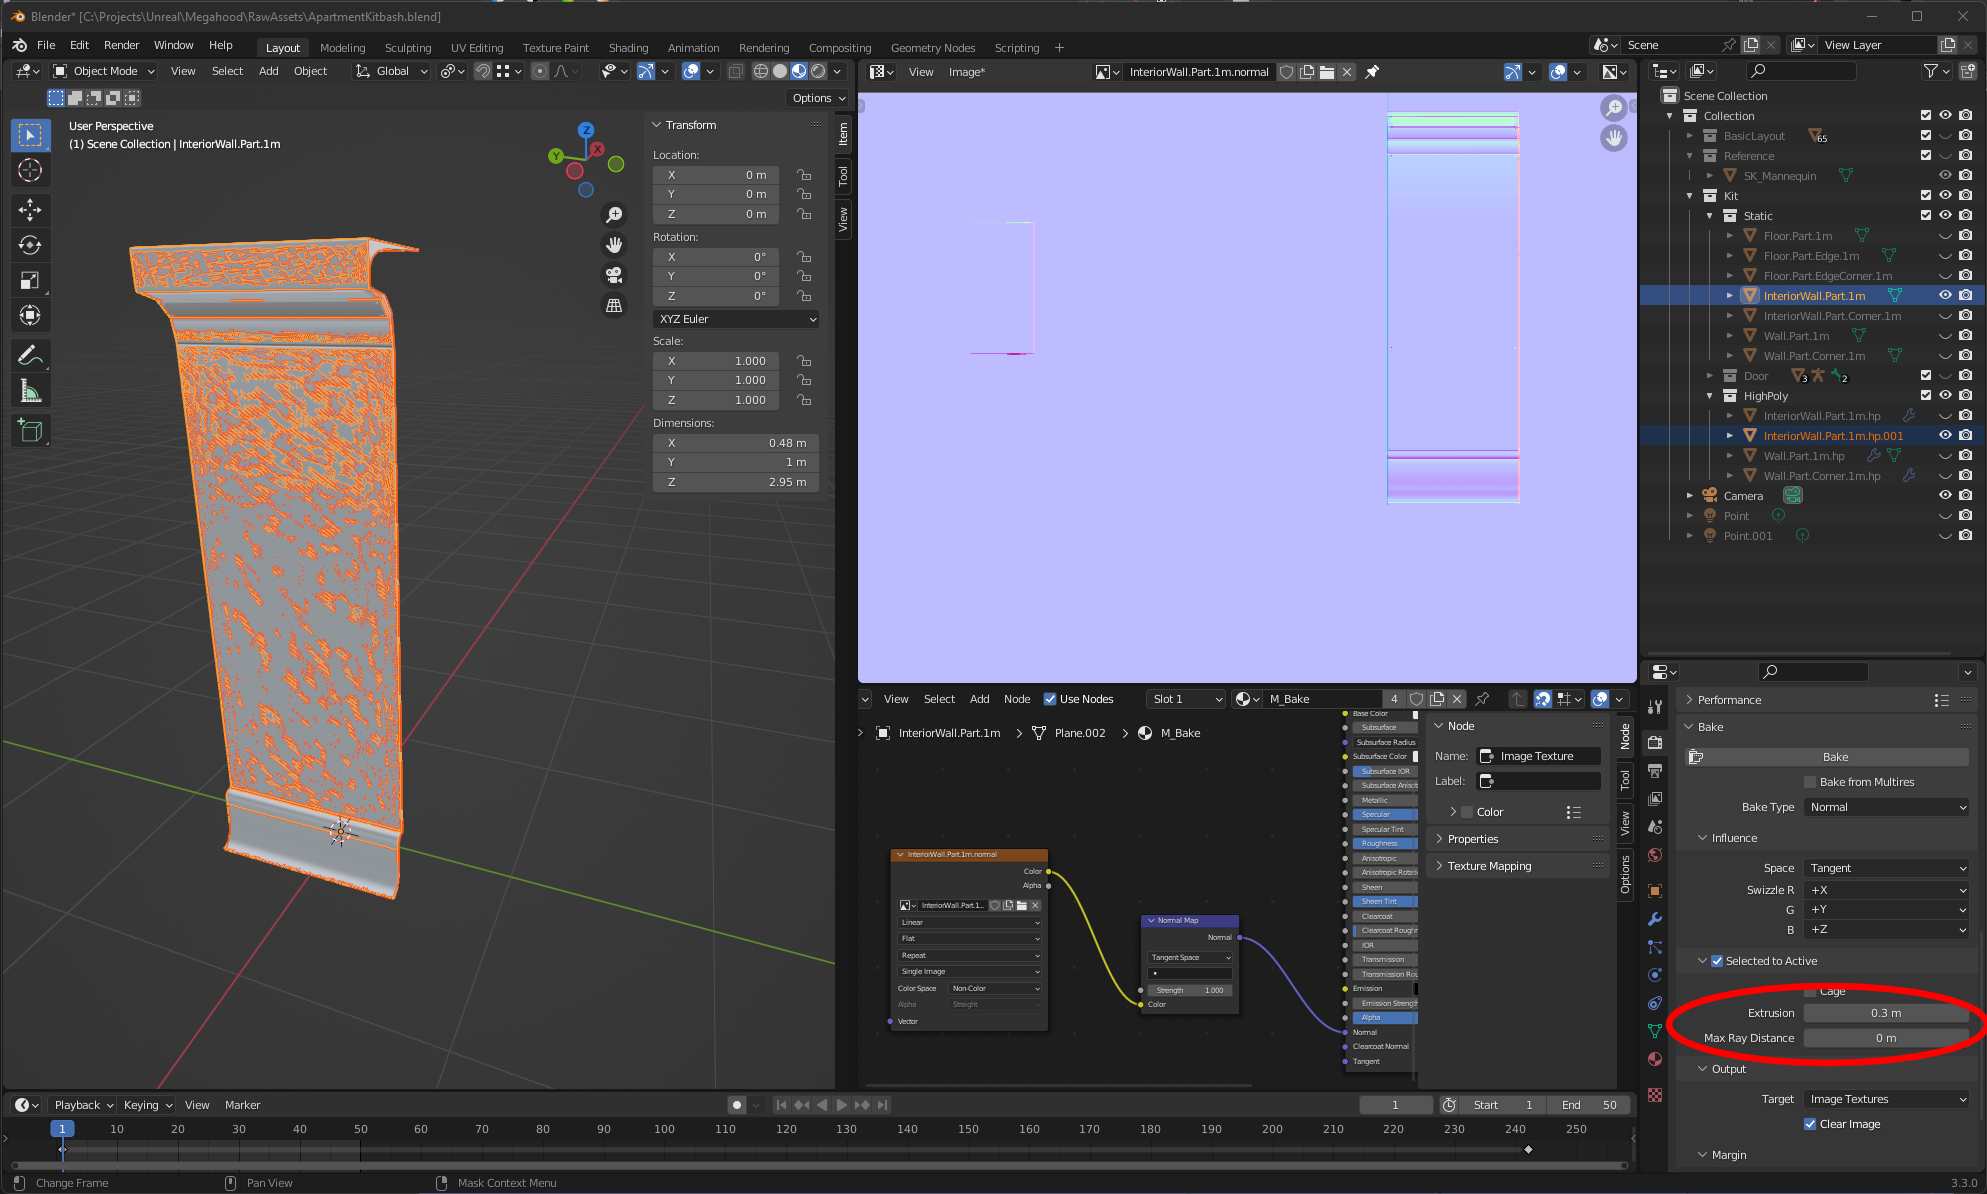
And that’s it! From the UV Editor, save the generated image out to disk to incorporate it in other software, or assign it to your final material in the same way. Refer back here when you struggle.
