
Published on 2/8/2016
Work continues amid some setbacks on the A-pillar and boot-lid. I’ve got the two ends of the car almost completed, but there's so much building...
The rear of the car is now almost reassembled, including the rear lights, reflectors/side indicators and the license plate cover panel. I had some trouble with the rear mudguards. These were never completely fastened, and I wanted to reattach them properly. It took some bending and cutting of clips to get it all to fit and tighten nicely. The only other problem area is the lid brake-light. When I took it off, the water seal around it tore off completely, and of course it’s not listed as a part on any Mazda catalog anywhere, although it does appear on their PDFs with a part number. I can special order from the UK, or try and make something locally. Of course, I was never going to reuse the old one anyway, so this would have been a problem all along.
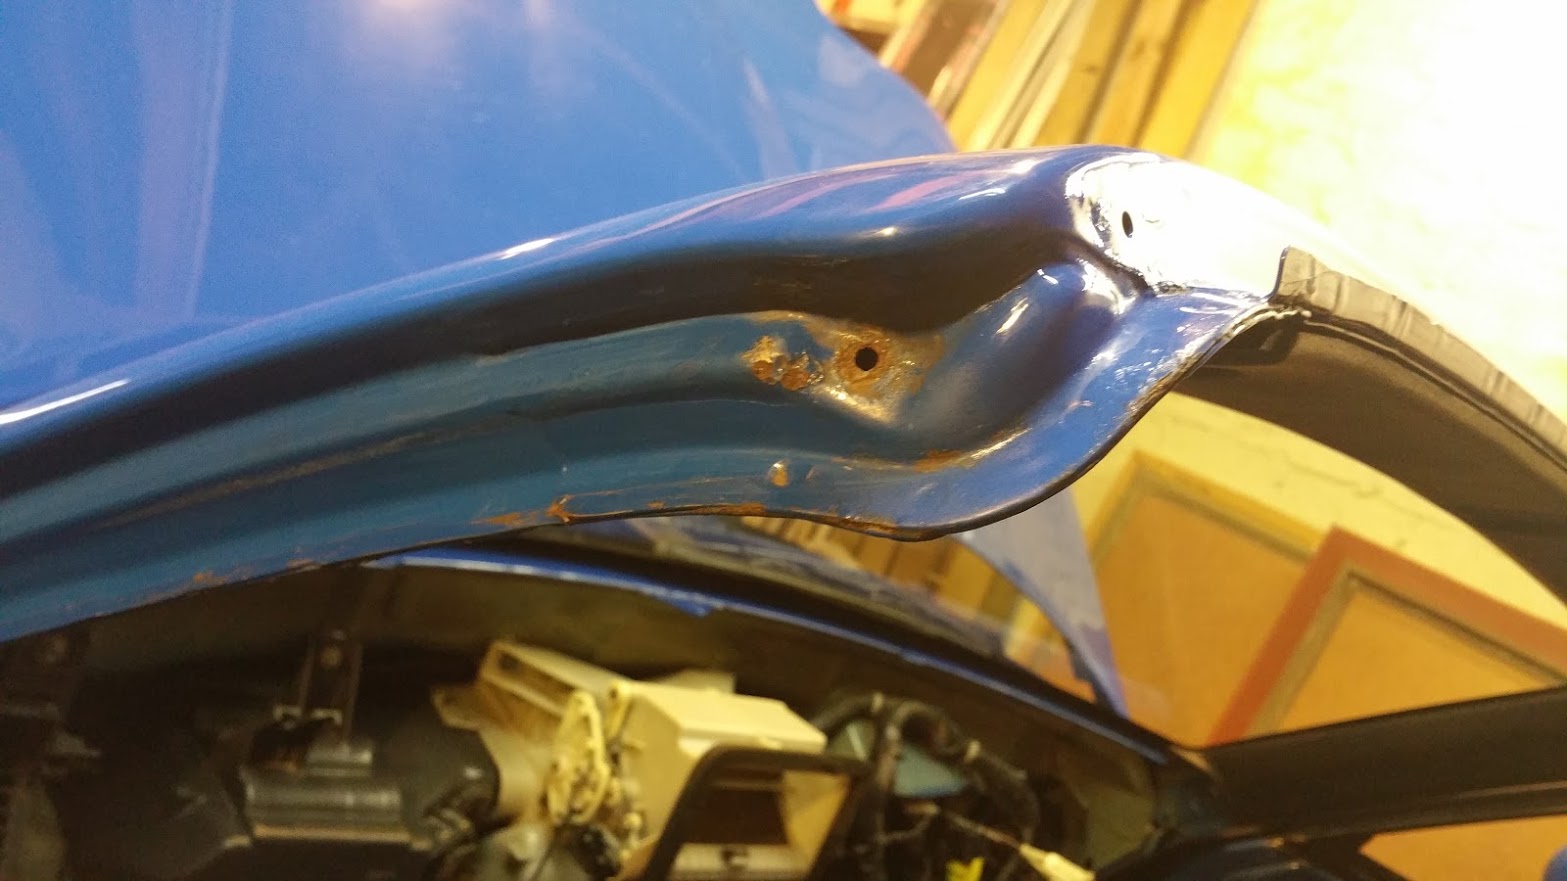
Then, as I was preparing to put the windshield frame strip back, I noticed that there was a missing plug in it. When I removed it, I thought I had done so with all four plastic plugs in place, but alas, I didn’t check correctly and one had remained in the A-pillar. This isn’t a problem of course, but as it turns out it had torn out of the rubber long ago. I removed the plug from the A-pillar and found a load of rust underneath it in an area that I really don’t want rust. This has been leaking through the tear for a long time. I had to sand and treat this area too, since it’s critical to prevent further deterioration of the A-pillar. It seems to be mainly around the plug hole; knuckling around the hole and down the pillar doesn’t deliver dull or soft sounds which would probably indicate very thin or eroded areas. It was quite a mission to clear this off, and I used a Dremel bit extensively rather than hand-sanding.
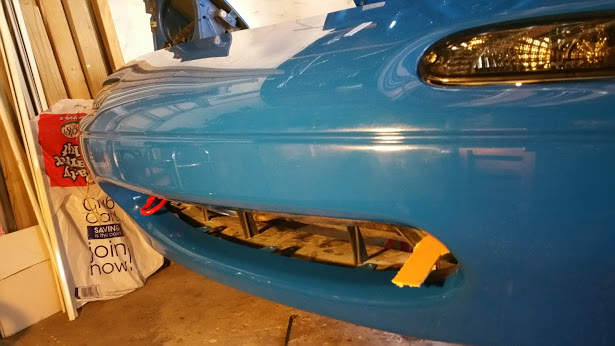
Moving towards the front of the car, I had some surprises. The shop had not attached the front-bumper to prevent damage during transportation (the tie downs inside the mouth made them nervous I guess), but they had also removed the plastic support for the spot lights, bumper stays and under-tray. This made it easy to take off the tie-downs to clean up, one of which would be replaced by a license plate bracket. While waiting for the paint to dry, I reattached the bumper completely, and set about the front parking and indicator lights. The new clear side indicators look ace. Unfortunately, due to budget constraints I didn’t get clear side reflectors too. I will definitely get the stock orange ones replaced as soon as possible now.
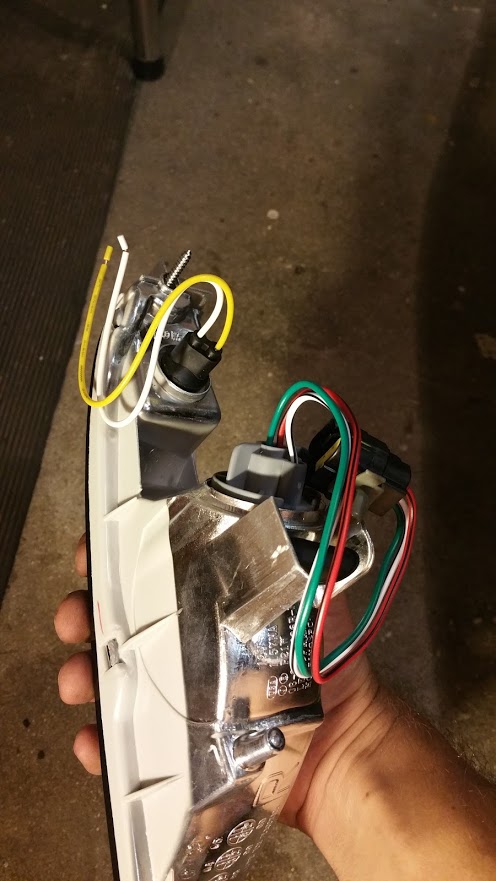
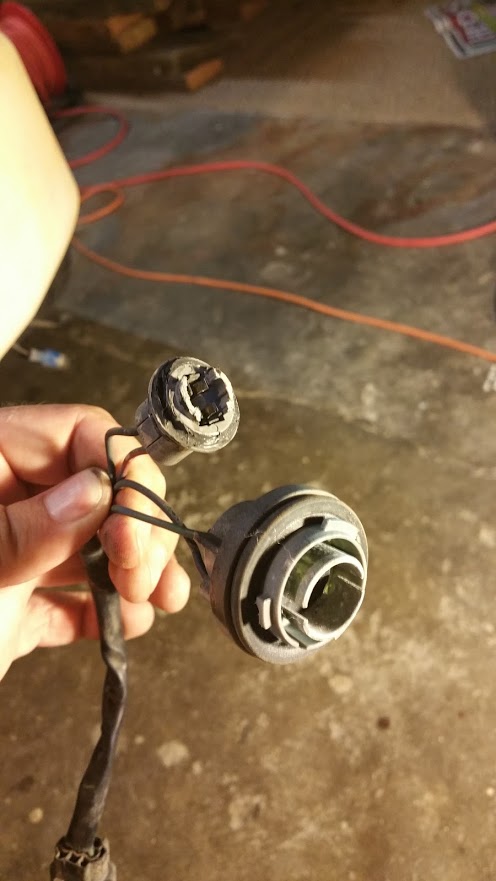
The light clusters though, that was something else. You might remember I had gotten the black smoked clusters instead to replace the stock clear and orange clusters with. In the past these didn’t support a separate indicator light, but recently they started offering these clusters with the indicator hole drilled out and a special rubber fitting for a separate indicator bulb. What I didn’t expect was that these clusters come with bulb harnesses and wiring already fitted, with the caveat that the main bulb is wired as the indicator (due to the old configuration) and the separate indicator bulb is not connected. Fortunately, because of the state of my car’s original bulb harnesses and wiring I had ordered replacements, expecting to use it with the new clusters. So now I had two sets of harnesses and wired plugs for each cluster. The stock indicator holders doesn’t fit into the drilled hole in the new clusters though, so after some cutting and soldering I built a mix and match set for each cluster that fits rather nicely from the two sets of harnesses. The smoke clusters look absolutely super, probably the best buy for this car I’ve done to date.
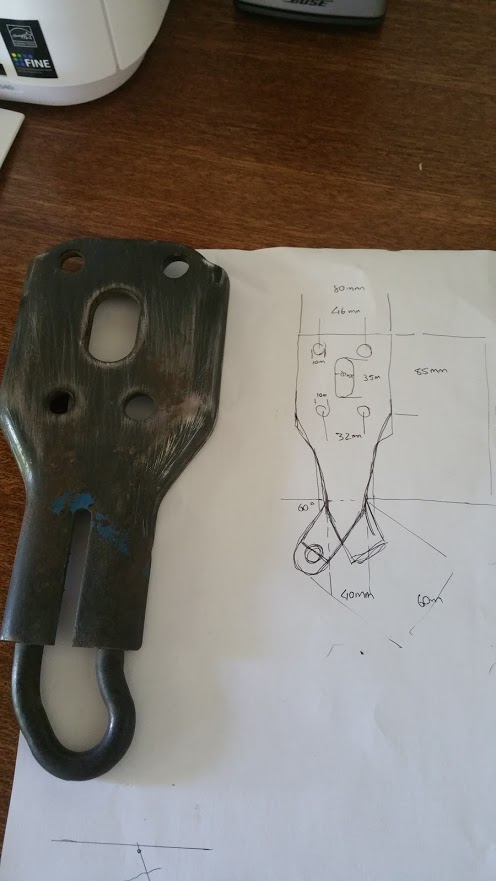
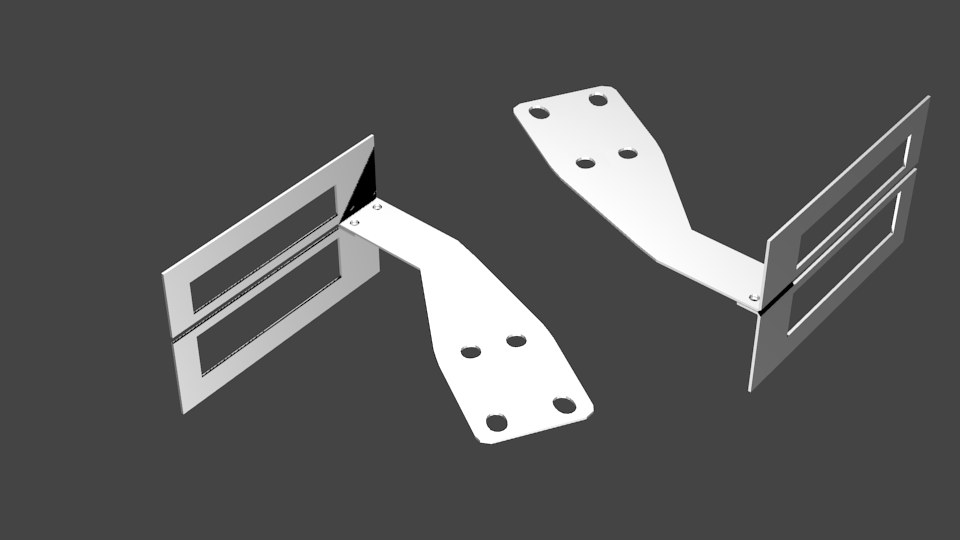
After that I started measuring out the passenger side tie-down and designed the plate-holder to put in it’s place. This plate holder will go all the way out of the mouth of the bumper and present a suitable area to attach an import-sized plate onto. This was a very interesting part which I really enjoyed doing, partly because I used to do 3D modelling as a hobby, and I’m pretty anal when it comes to things like rounded corners and bevels and so on. Of course, this morning it turns out that using Blender to model it and the export plugin to save to the .DXF format is pretty useless, and the guys doing the laser cutting of the stainless steel can’t do anything with the data set. I guess I’ll try something like Sketch-Up next, otherwise I’ll just get a trial version of AutoCAD.
This is slowly turning into more of a build than I anticipated, but I really shouldn’t be surprised about that actually. This car went from being an “occasional maintenance” project to a full-on “project car”, so I guess it’s just a continuation on that theme. More next time!